58Bisc
Well-Known Member
- Messages
- 186
- Location
- Warminster, PA
Before and after pictures:


Here is what comes with the kit. I found no use for the shorter bolts, the bed blocks or the V8 radiator hose clamp on the H3 with I5 engine:

I found the DayStar instructions to be wrong for the H3 with an I5 engine for everything except the lift it's self. I've attempted to point out those differences to help others better prepare before starting this upgrade.
Be sure to have a good floor jack (the higher the lift the better) and a hunk of 3x3 wood roughly one foot long. I used an impact gun to remove the bolts. You will need a ½ drive 18mm and 22mm sockets, long and short extensions, two zip ties, a pair of cutters, a sheet of paper, a pencil and a tape measure.
Open the hood and look at the fan shroud. In my case it is a one piece unit, not a two piece like the instructions for the H3T show.
The lower part of the shroud (slip ring) sticks out towards the engine a couple of inches. When the body is lifted, it will come into contact with the fan.
View from below, looking up with the front skid plate removed:

Look down the passengers side of the shroud and you will see a release clip.
View from the passengers side:

Lift up on the post as you depress the release. The post should slide up towards you. Continue to rotate the post until you can't go any further.
This will put the lower shroud (slip ring) at the top and allow the body to be raised without hitting the fan.
View from below, looking up with the front skid plate removed:

Since there is now no way to lock the shroud (slip ring) in this position, you will need to drill at least one hole (I drilled two) to place a zip tie through.
View from the front:

This will stop the inner shroud (slip ring) from spinning back down to the bottom.
View from the top:

There is no need to touch or trim the rear bumper caps on the H3.
The body lift itself, as you would expect is very basic. Measure and record the distance at each body mount of the body to frame.
I printed the frame locations from the manual and wrote on it:

Remove the front end slider (shield) to gain access to the front mounts.
View from below:

Loosen all body bolts (18 mm). Pick a side (I started on the drivers side) and start at the front and remove the bolt.
There are 12 body mounts on the H3. Two under the radiator, two right below the bottom of the front fender, four under the rocker panels, two in the top of the wheel arches of the frame and two behind the bumper caps (accessible from under the truck).
Remove the bushing and place the bolt in a vise upside down. Using a hammer, drive the bolt out of the bushing washer.
A couple of good hits are needed:

Place a new bolt and supplied small washer through the bushing washer.
On the front mounts, there was very little body to jack up. Take your time raising the front in order not to damage anything. Slide the spacer in between the body and the bushing. Place the supplied loctite on the threads. Insert the bolt and finger tighten. Work your way down the side and then come back to the front and start on the other side.
This is a shot of the front mount behind the bumper:

View of the drivers side front mount below the back of the front fender:

Check all of your body to frame aliment measurements. Adjust if necessary. Per instructions, torque all of the bolts down (22 mm) to 75ftlbs (manual for a 2006 said 85ftlbs).
View of the drivers side from mount below the back of the front fender and the amount of lift achieved:

I have an AirDoc's intake installed, so there was no trimming of any covers
I found that I needed to bend the heater hose bracket that attaches to the engine upwards and a small upward bend of the passengers side front brake line was needed. The power harness on the drivers side rerouted it's self slightly during the process.
The rear body gap is not noticeable to me:

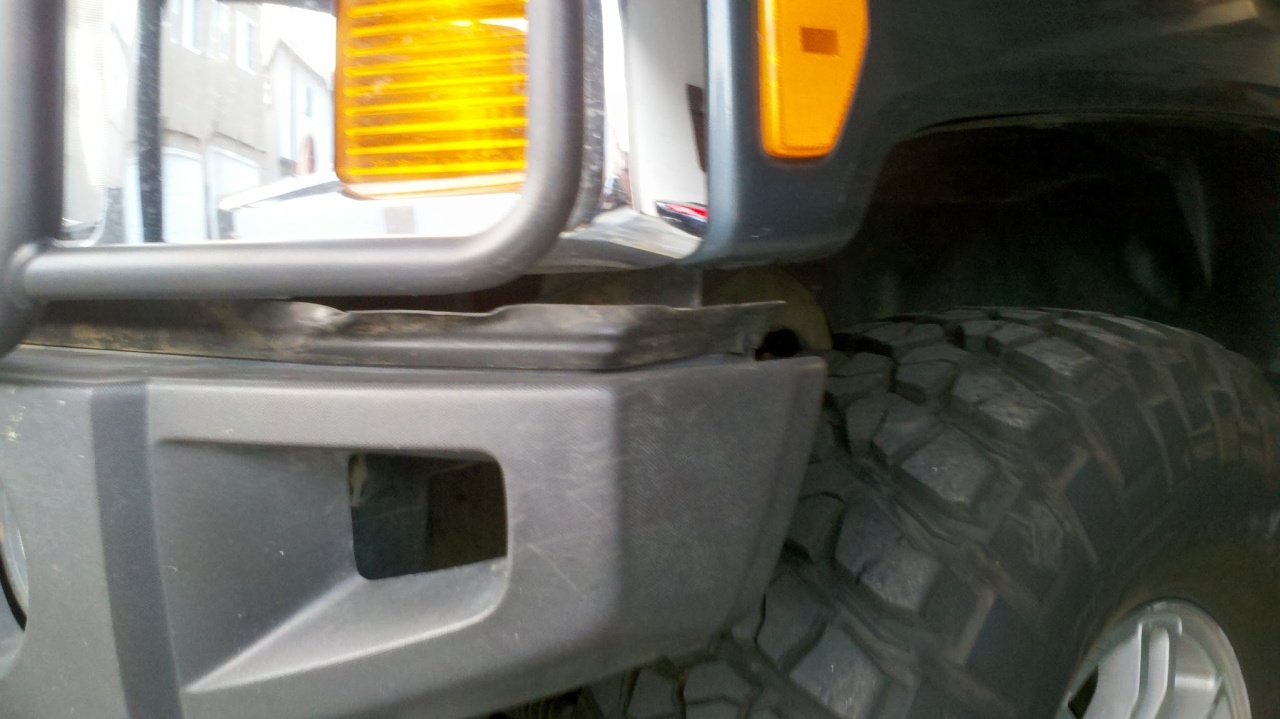
I'm was not happy with the front gap, especially at the corners. A Thor bumper upgrade solved that issue:


Over all I am happy with the upgrade. It took me about three hours by myself to do it. I believe I could have cut that time in half had I had a better jack and had I not had to figure out the fan shroud.
Here is what comes with the kit. I found no use for the shorter bolts, the bed blocks or the V8 radiator hose clamp on the H3 with I5 engine:
I found the DayStar instructions to be wrong for the H3 with an I5 engine for everything except the lift it's self. I've attempted to point out those differences to help others better prepare before starting this upgrade.
Be sure to have a good floor jack (the higher the lift the better) and a hunk of 3x3 wood roughly one foot long. I used an impact gun to remove the bolts. You will need a ½ drive 18mm and 22mm sockets, long and short extensions, two zip ties, a pair of cutters, a sheet of paper, a pencil and a tape measure.
Open the hood and look at the fan shroud. In my case it is a one piece unit, not a two piece like the instructions for the H3T show.
The lower part of the shroud (slip ring) sticks out towards the engine a couple of inches. When the body is lifted, it will come into contact with the fan.
View from below, looking up with the front skid plate removed:
Look down the passengers side of the shroud and you will see a release clip.
View from the passengers side:
Lift up on the post as you depress the release. The post should slide up towards you. Continue to rotate the post until you can't go any further.
This will put the lower shroud (slip ring) at the top and allow the body to be raised without hitting the fan.
View from below, looking up with the front skid plate removed:
Since there is now no way to lock the shroud (slip ring) in this position, you will need to drill at least one hole (I drilled two) to place a zip tie through.
View from the front:
This will stop the inner shroud (slip ring) from spinning back down to the bottom.
View from the top:
There is no need to touch or trim the rear bumper caps on the H3.
The body lift itself, as you would expect is very basic. Measure and record the distance at each body mount of the body to frame.
I printed the frame locations from the manual and wrote on it:
Remove the front end slider (shield) to gain access to the front mounts.
View from below:
Loosen all body bolts (18 mm). Pick a side (I started on the drivers side) and start at the front and remove the bolt.
There are 12 body mounts on the H3. Two under the radiator, two right below the bottom of the front fender, four under the rocker panels, two in the top of the wheel arches of the frame and two behind the bumper caps (accessible from under the truck).
Remove the bushing and place the bolt in a vise upside down. Using a hammer, drive the bolt out of the bushing washer.
A couple of good hits are needed:
Place a new bolt and supplied small washer through the bushing washer.
On the front mounts, there was very little body to jack up. Take your time raising the front in order not to damage anything. Slide the spacer in between the body and the bushing. Place the supplied loctite on the threads. Insert the bolt and finger tighten. Work your way down the side and then come back to the front and start on the other side.
This is a shot of the front mount behind the bumper:
View of the drivers side front mount below the back of the front fender:
Check all of your body to frame aliment measurements. Adjust if necessary. Per instructions, torque all of the bolts down (22 mm) to 75ftlbs (manual for a 2006 said 85ftlbs).
View of the drivers side from mount below the back of the front fender and the amount of lift achieved:
I have an AirDoc's intake installed, so there was no trimming of any covers
I found that I needed to bend the heater hose bracket that attaches to the engine upwards and a small upward bend of the passengers side front brake line was needed. The power harness on the drivers side rerouted it's self slightly during the process.
The rear body gap is not noticeable to me:
I'm was not happy with the front gap, especially at the corners. A Thor bumper upgrade solved that issue:
Over all I am happy with the upgrade. It took me about three hours by myself to do it. I believe I could have cut that time in half had I had a better jack and had I not had to figure out the fan shroud.
Last edited: