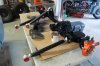
Well...its been quite some time since I touched this project, and today I kicked-in Phase II. After leaving Schwarttzy's Saturday...I picked up my first batch of production Hummer H3 SAS brackets. Today I got a pair of them welded-up and installed on the High Pinion housing. The brackets are a "combination" style that locates all of suspension points on a single piece. The shock mount, coil spring pad, and lower-link mounts are all accounted for in a single bracket. However, unlike the Ballistic Fab brackets I used last time...these brackets locate the control arms further inboard, while leaving the coil springs and shocks out near the tires. This allows for more clearance between the tire and the lower link bars and thus...the truck turns much tighter.
As mentioned earlier, I'm going for a relatively low-angle build on this one. Because of the high pinion...my front drive shaft will be nearly flat. I'm only anticipating 4-6 degrees of pinion angle (very low by Jeep & full-size truck standards). I have already welded the inner-Cs to the tubes in anticipation of this, and I have built-in 6-degrees of castor to keep the steering accurate and to avoid the dreaded death wobble. This first shot shows the nose of the pumpkin pointed up 5 degrees and the inner-C's leaned back and welded at 6 degrees. Normally I would do all this with the axle in position underneath the truck...leaving the inner-Cs loose until I determined the final castor angle. But, since I currently have a similar low-pinion installed in the truck...I already have a good idea of what angles I'll need. So, that is allowing me to build this one on the bench...
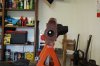
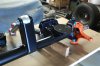
Using the machined face of the diff-cover surface I first set the pumpkin to 5-degrees...
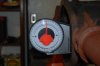
This put the inner-Cs at 6-degrees (they were welded in this position a couple months ago)....
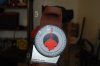
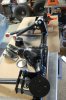
Then it was time to weld the brackets to the housing, using the spring plate as a reference point and setting it to 0-degrees...
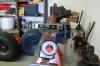
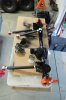
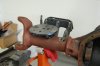
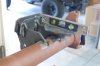
Because this is my second H3 SA...I already know the coil spring spacing and I can go ahead and weld this up to match the existing Dana 44 that I'm running. Right about the time I started to locate the upper link tower...I ran out of welding wire. So, I'll take a break until I can get some more but, here's what the brackets look like in their final positions...
Next I'll weld-on the upper link tower and the track-bar mount, and that should get it. The housing will be done at that point and I can then paint it and start doing the final assembly.