Stoic Bluejay
Well-Known Member
- Messages
- 81
- Location
- The ILL
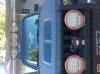
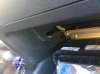
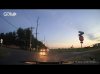
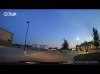
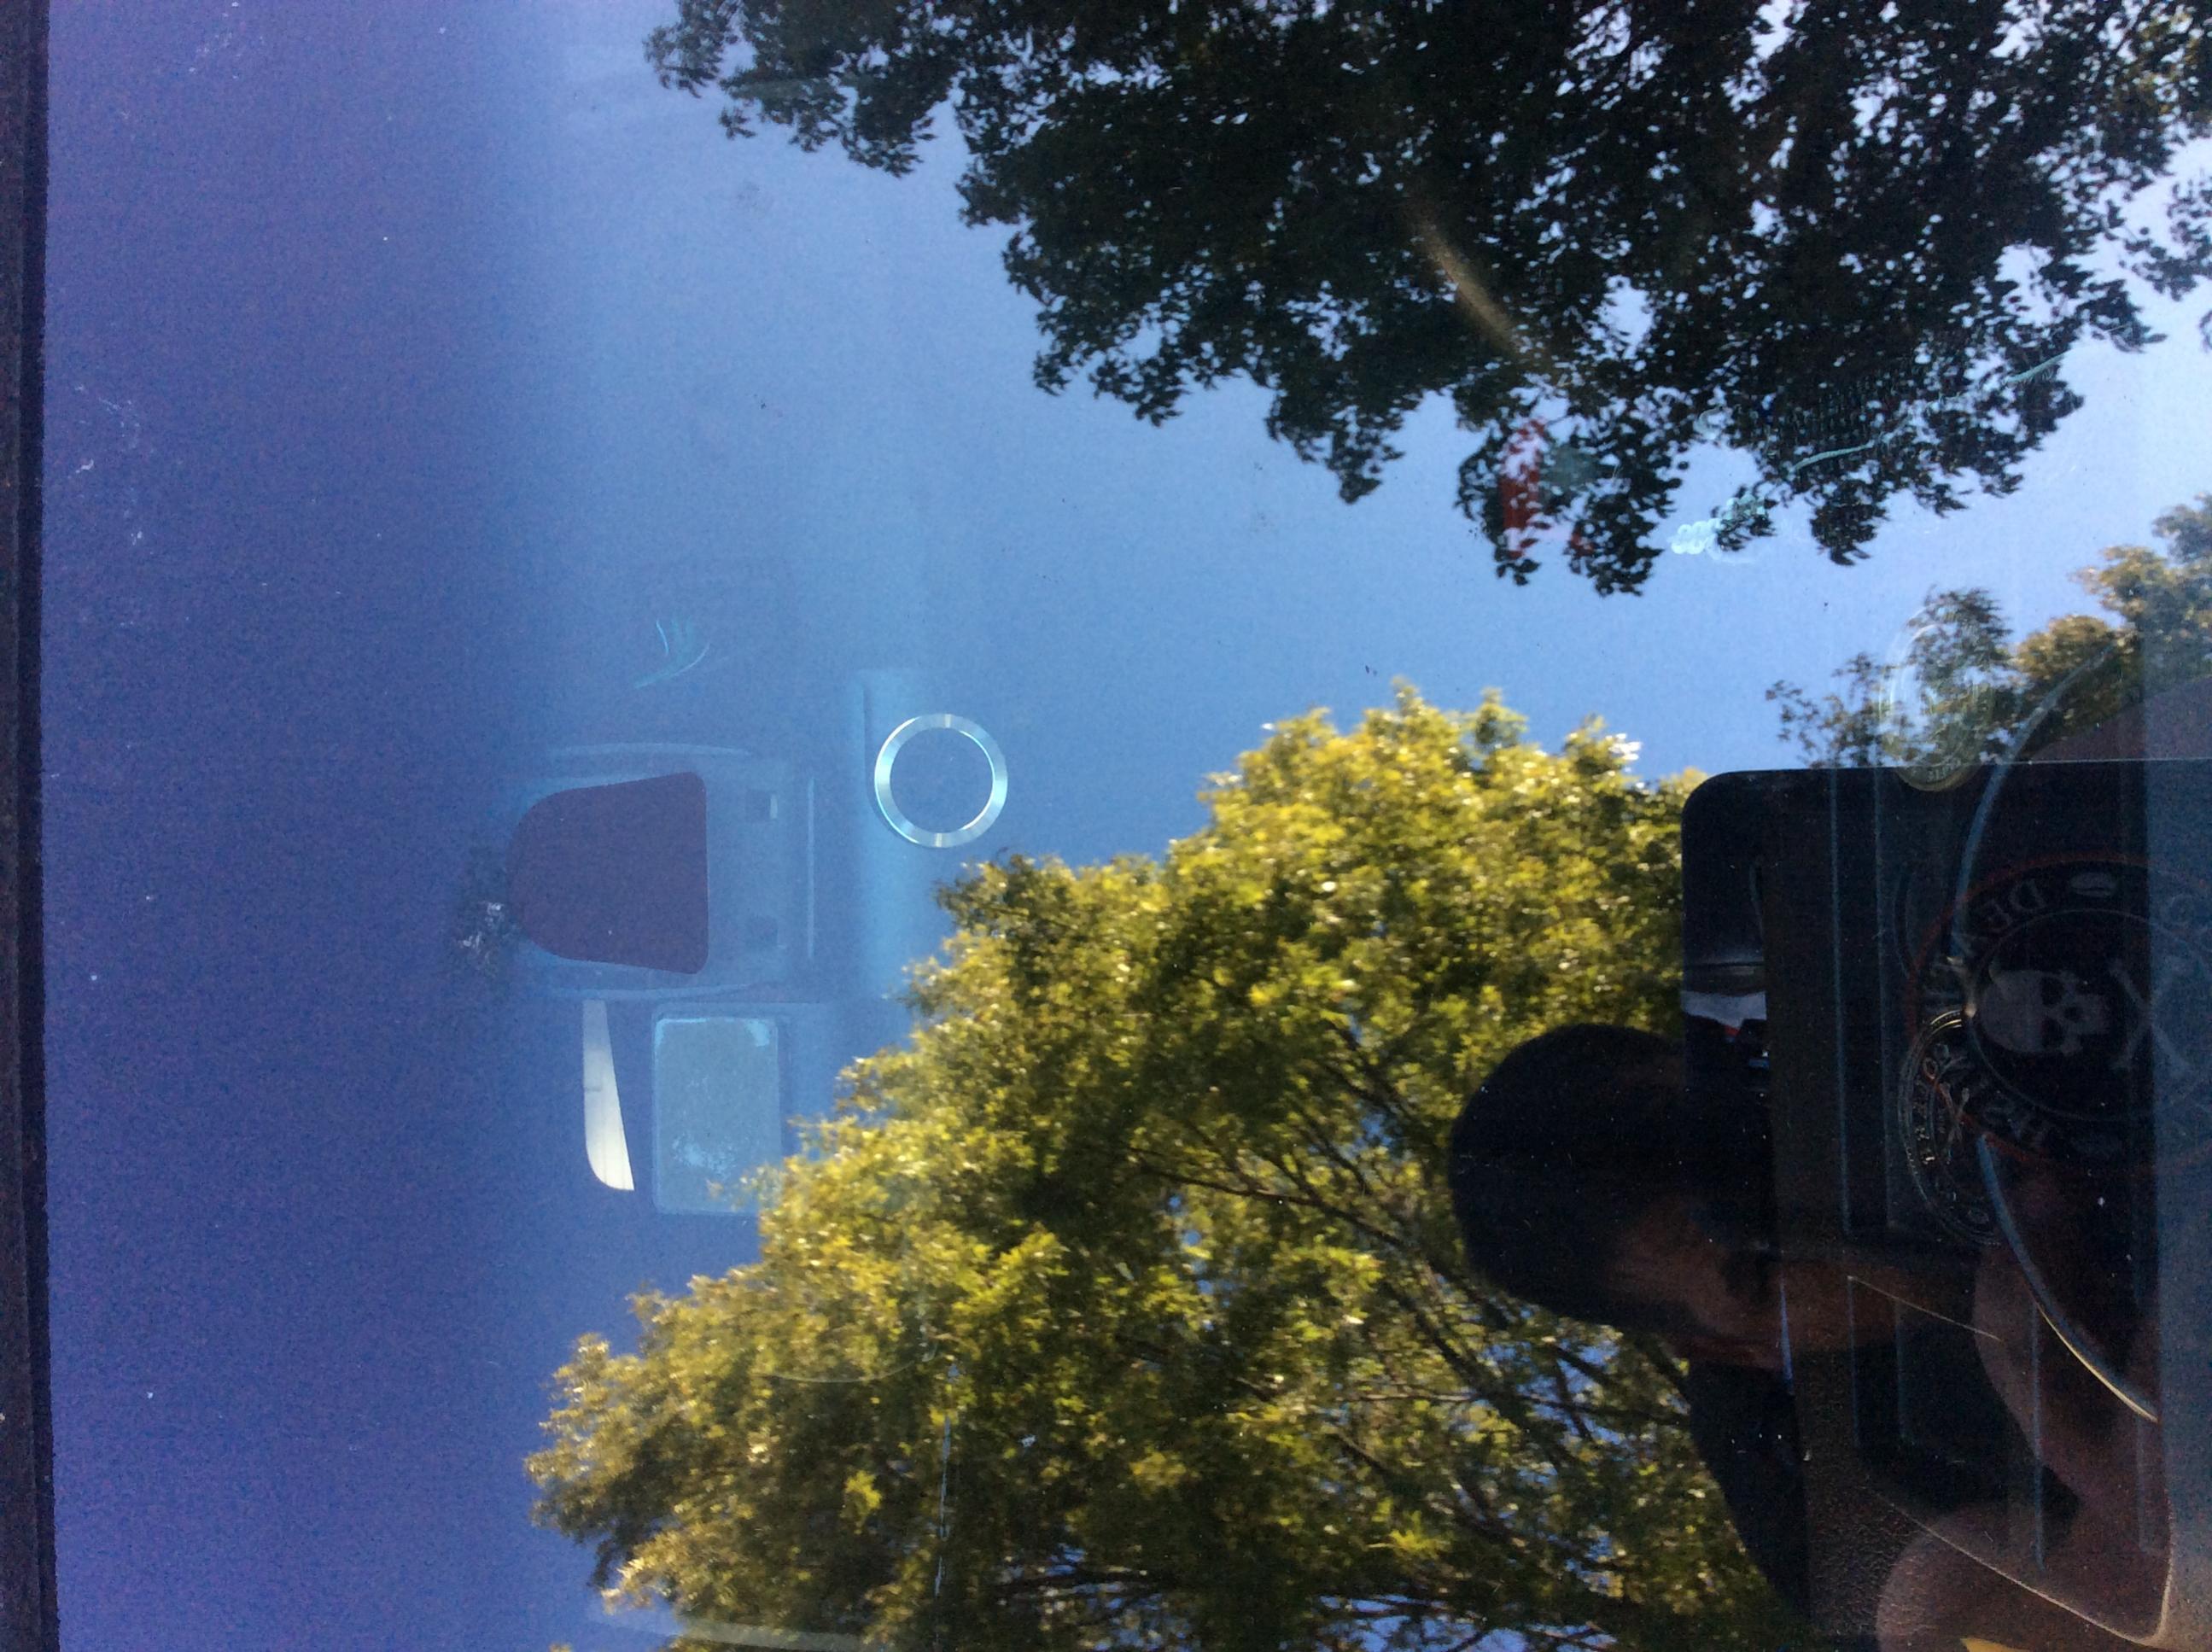
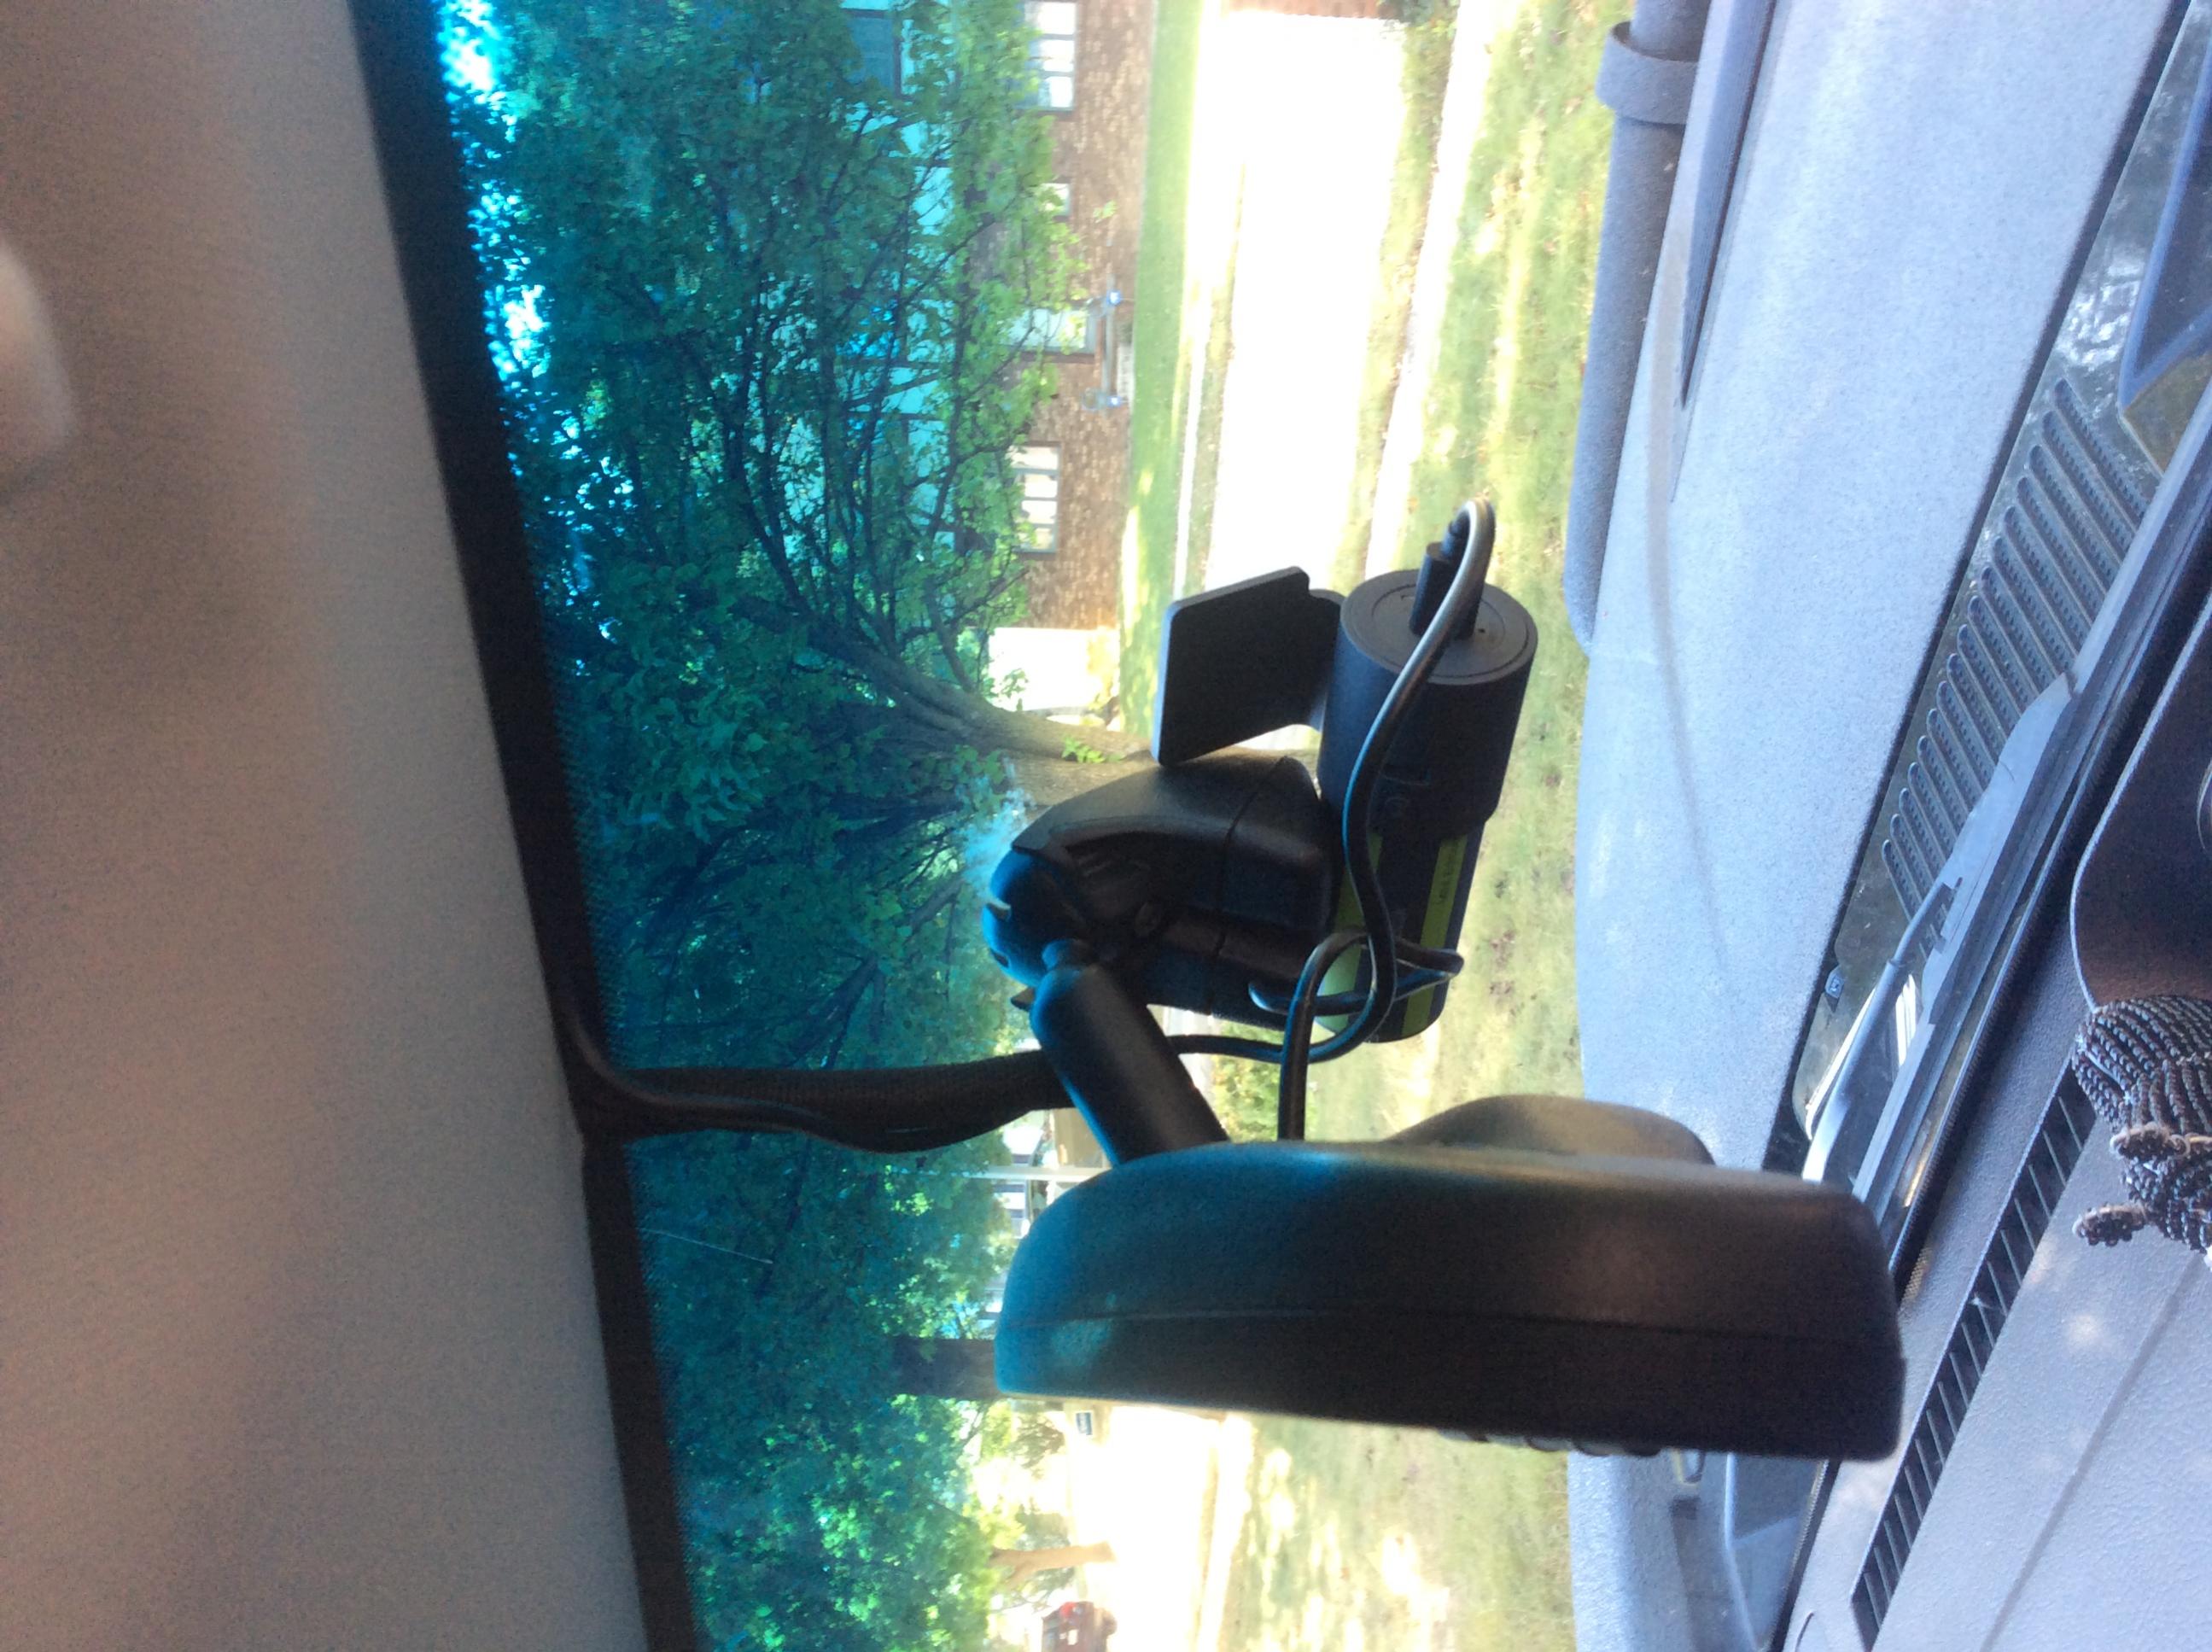
So I've been looking for a videocamera option and have seen some good installs here. A company called Goluk produced a T1 version that has been out for several years. The T2 is the newest version released only a few months ago. I purchased it on Amazon Prime for an easy transaction and return policy in case I don't like the performance. The HD camera is cylinder in shape and easily fits behind the H3 rear view mirror with the supplied metal locking bracket that comes in the box. The mount attaches to the windshield with 3M adhesive that is already attached to the mount. Also included in the package is a vehicle double usb plug, a long power cable that powers and charges the device when plugged into the usb plug. The Goluk connects to your I device or android via a free application. You can view you camera real time, view previous recorded material that is a loop format. You can also manually take photos from the camera with a supplied button that mounts to anywhere you wish. When viewing video footage on your device you can save video, share via social media etc. (not that I use social media). There is also a shock sensor I case your vehicle is in an accident and it automatically saves footage prior and during the impact. The video quality is HD and uses a Micro SD card. The company suggest using a Samsung brand SD micro. I purchased a San disk SD Micro. Look for the U3 symbol for the best format recording. The max micro the video camera will accept is 64 MB. I've had no problems recording and the playback quality is great.
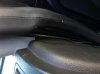
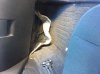
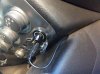
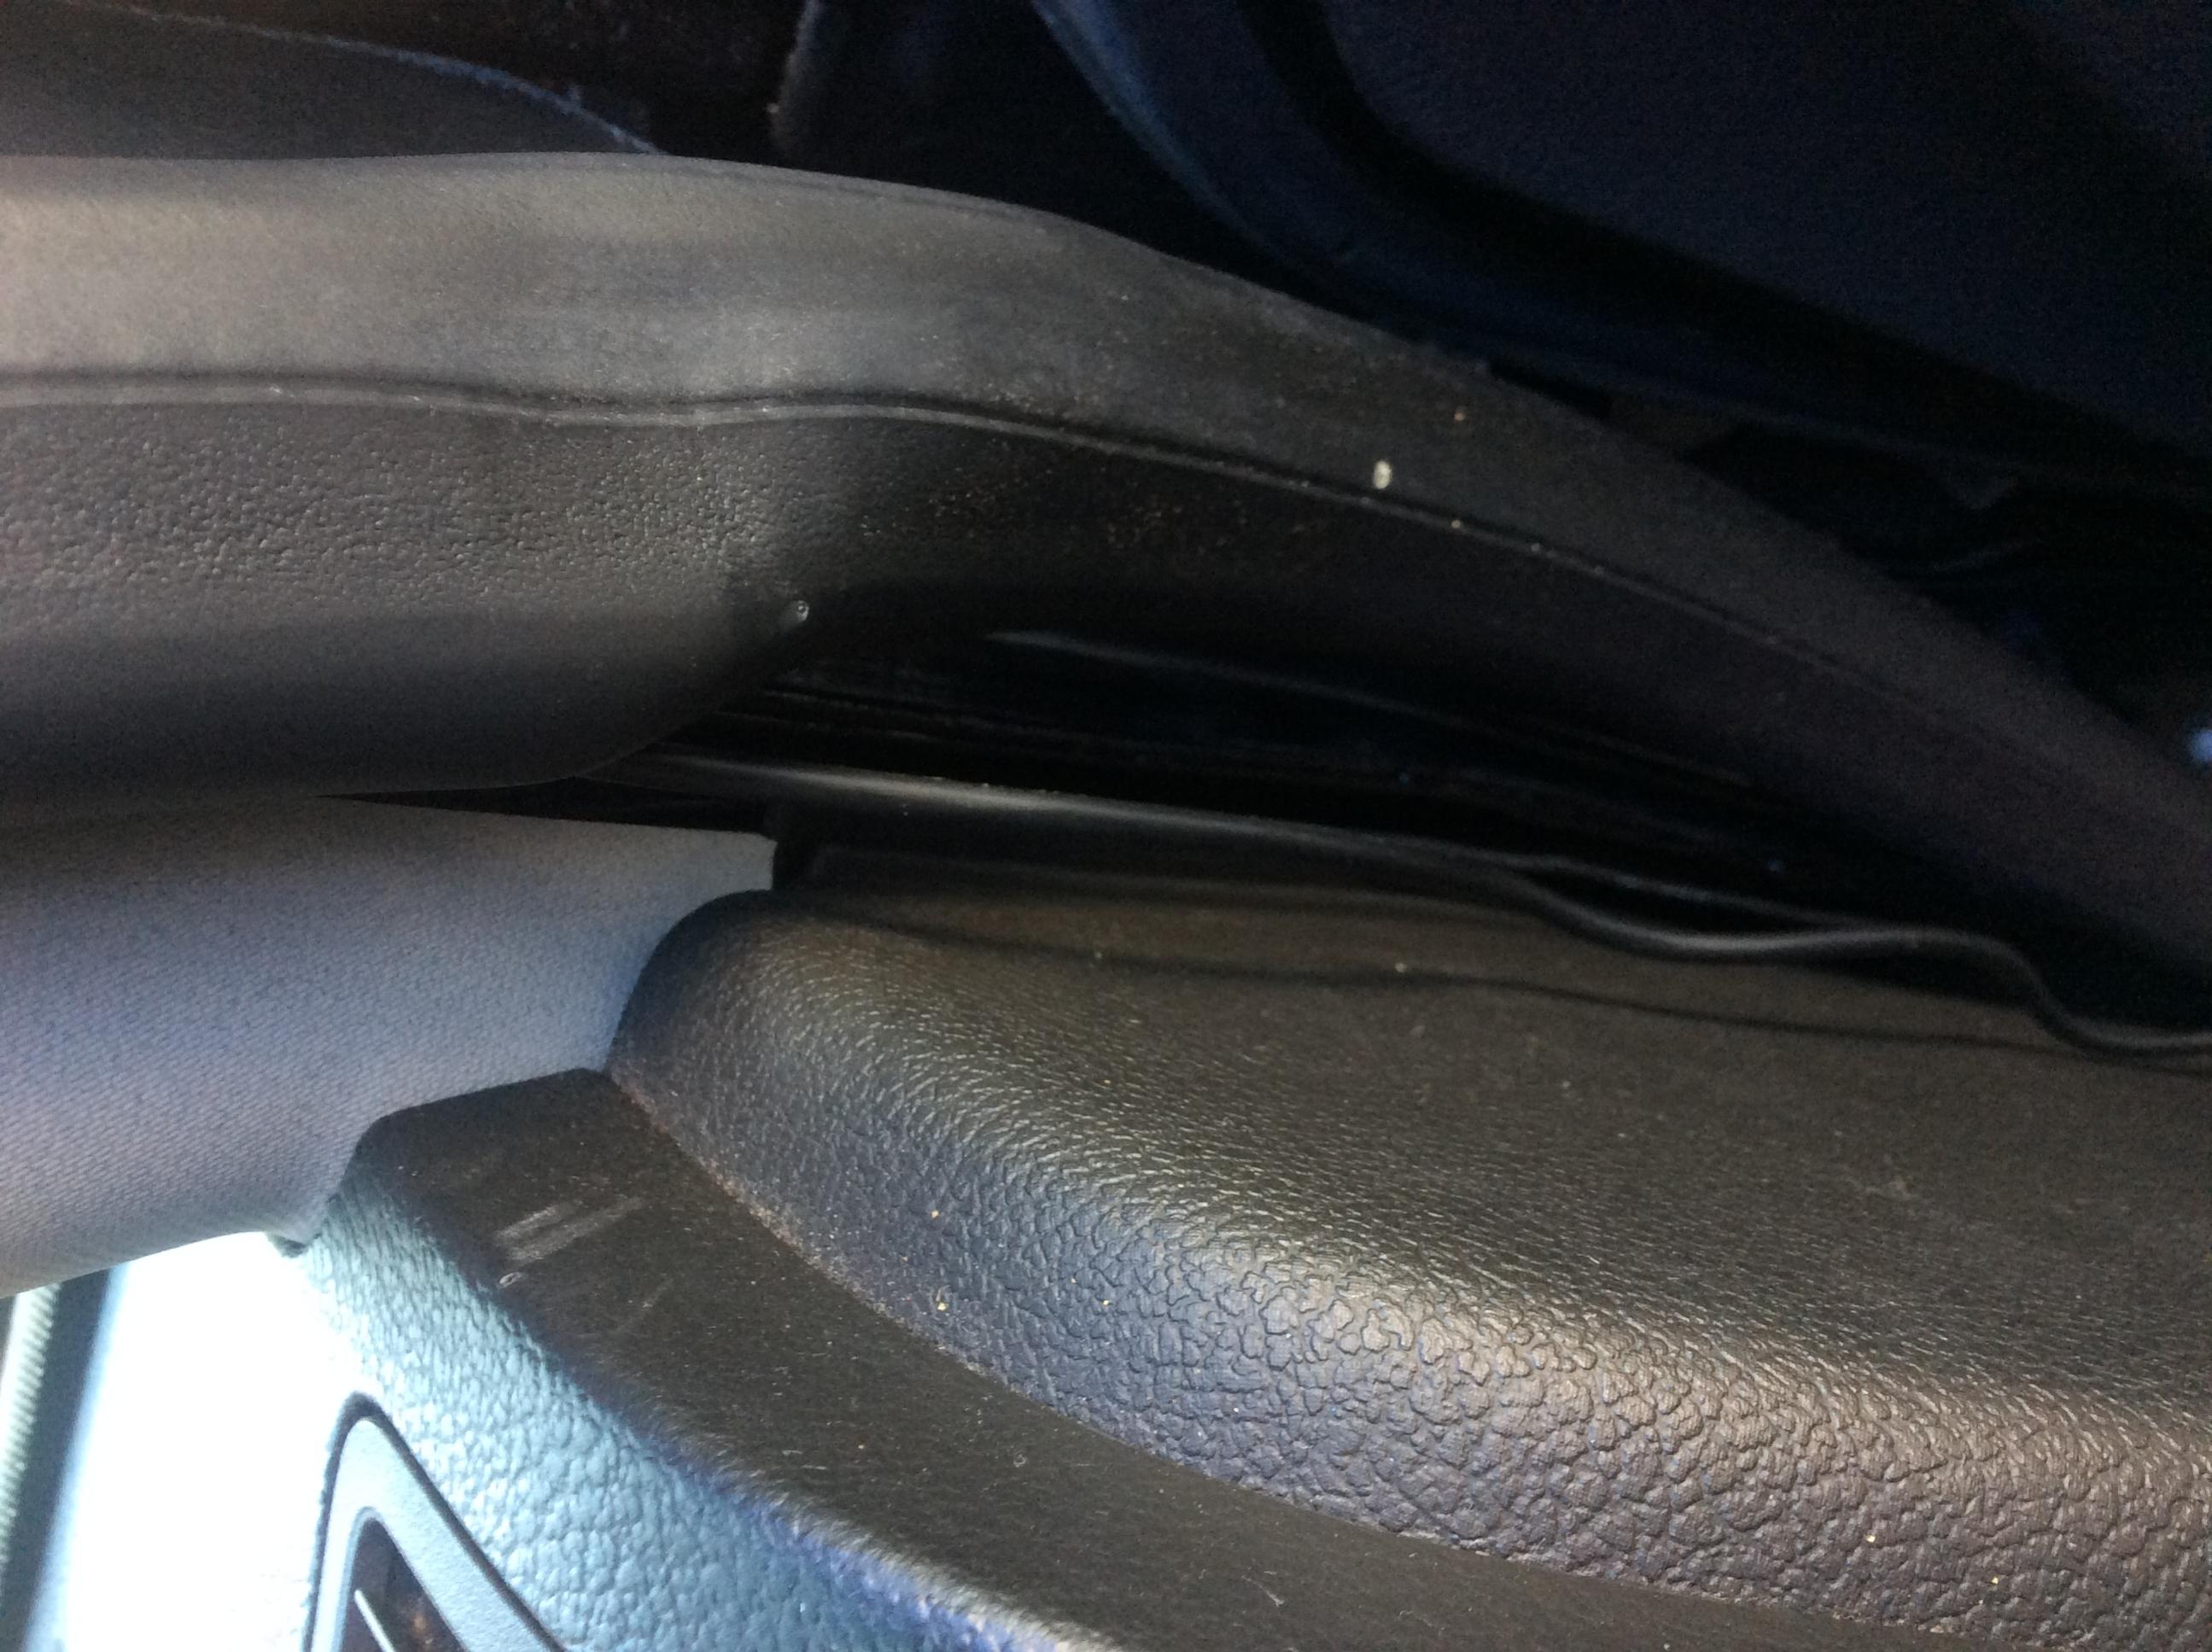
The install took me around 20 min and the cord supplied was plenty long. I ran the power cord along the review mirror power cord and up through the roof interior. Down along the passenger side pillar behind the tweeter and into the side of the dashboard. I continued downward through the interior molding that you can pull back or tuck the cord in. Then along the interior carpet toward the center of the dash. You can tuck the cord into the center of the dash along a seam and plug it directly into the double usb power source. When you have it operational drop the glove box and you can pull the excess cord into the dash hidden from being caught by feet etc.
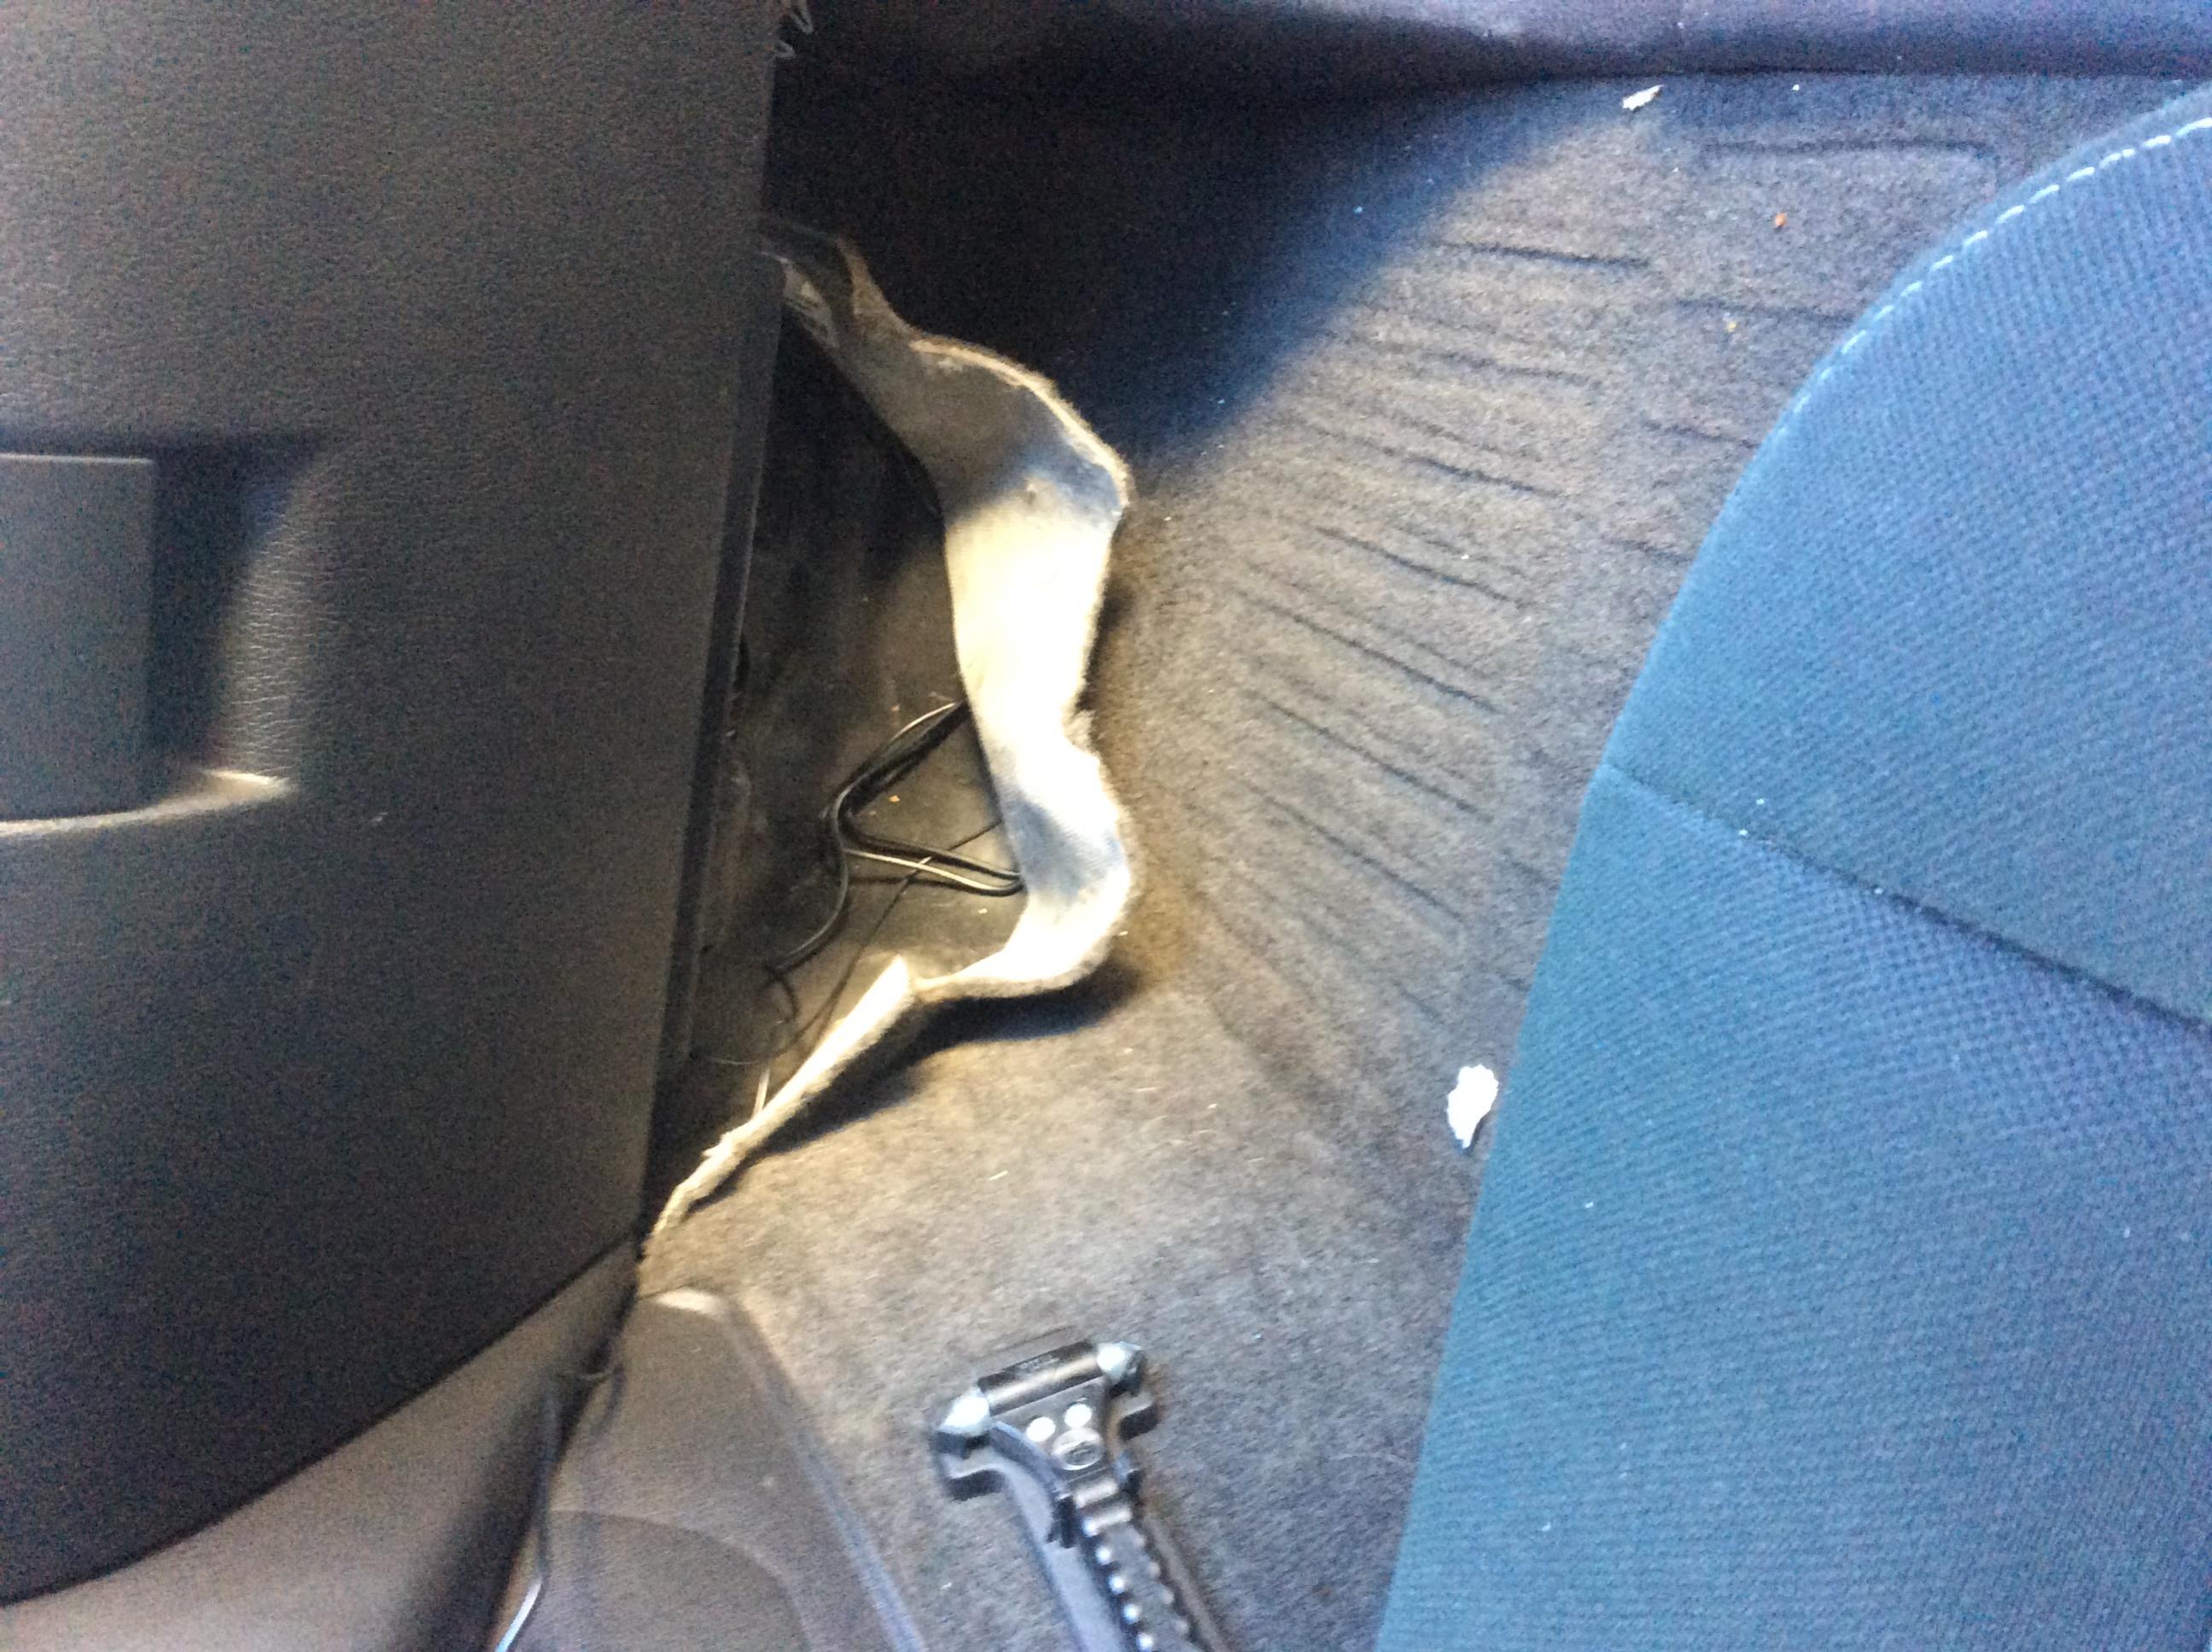
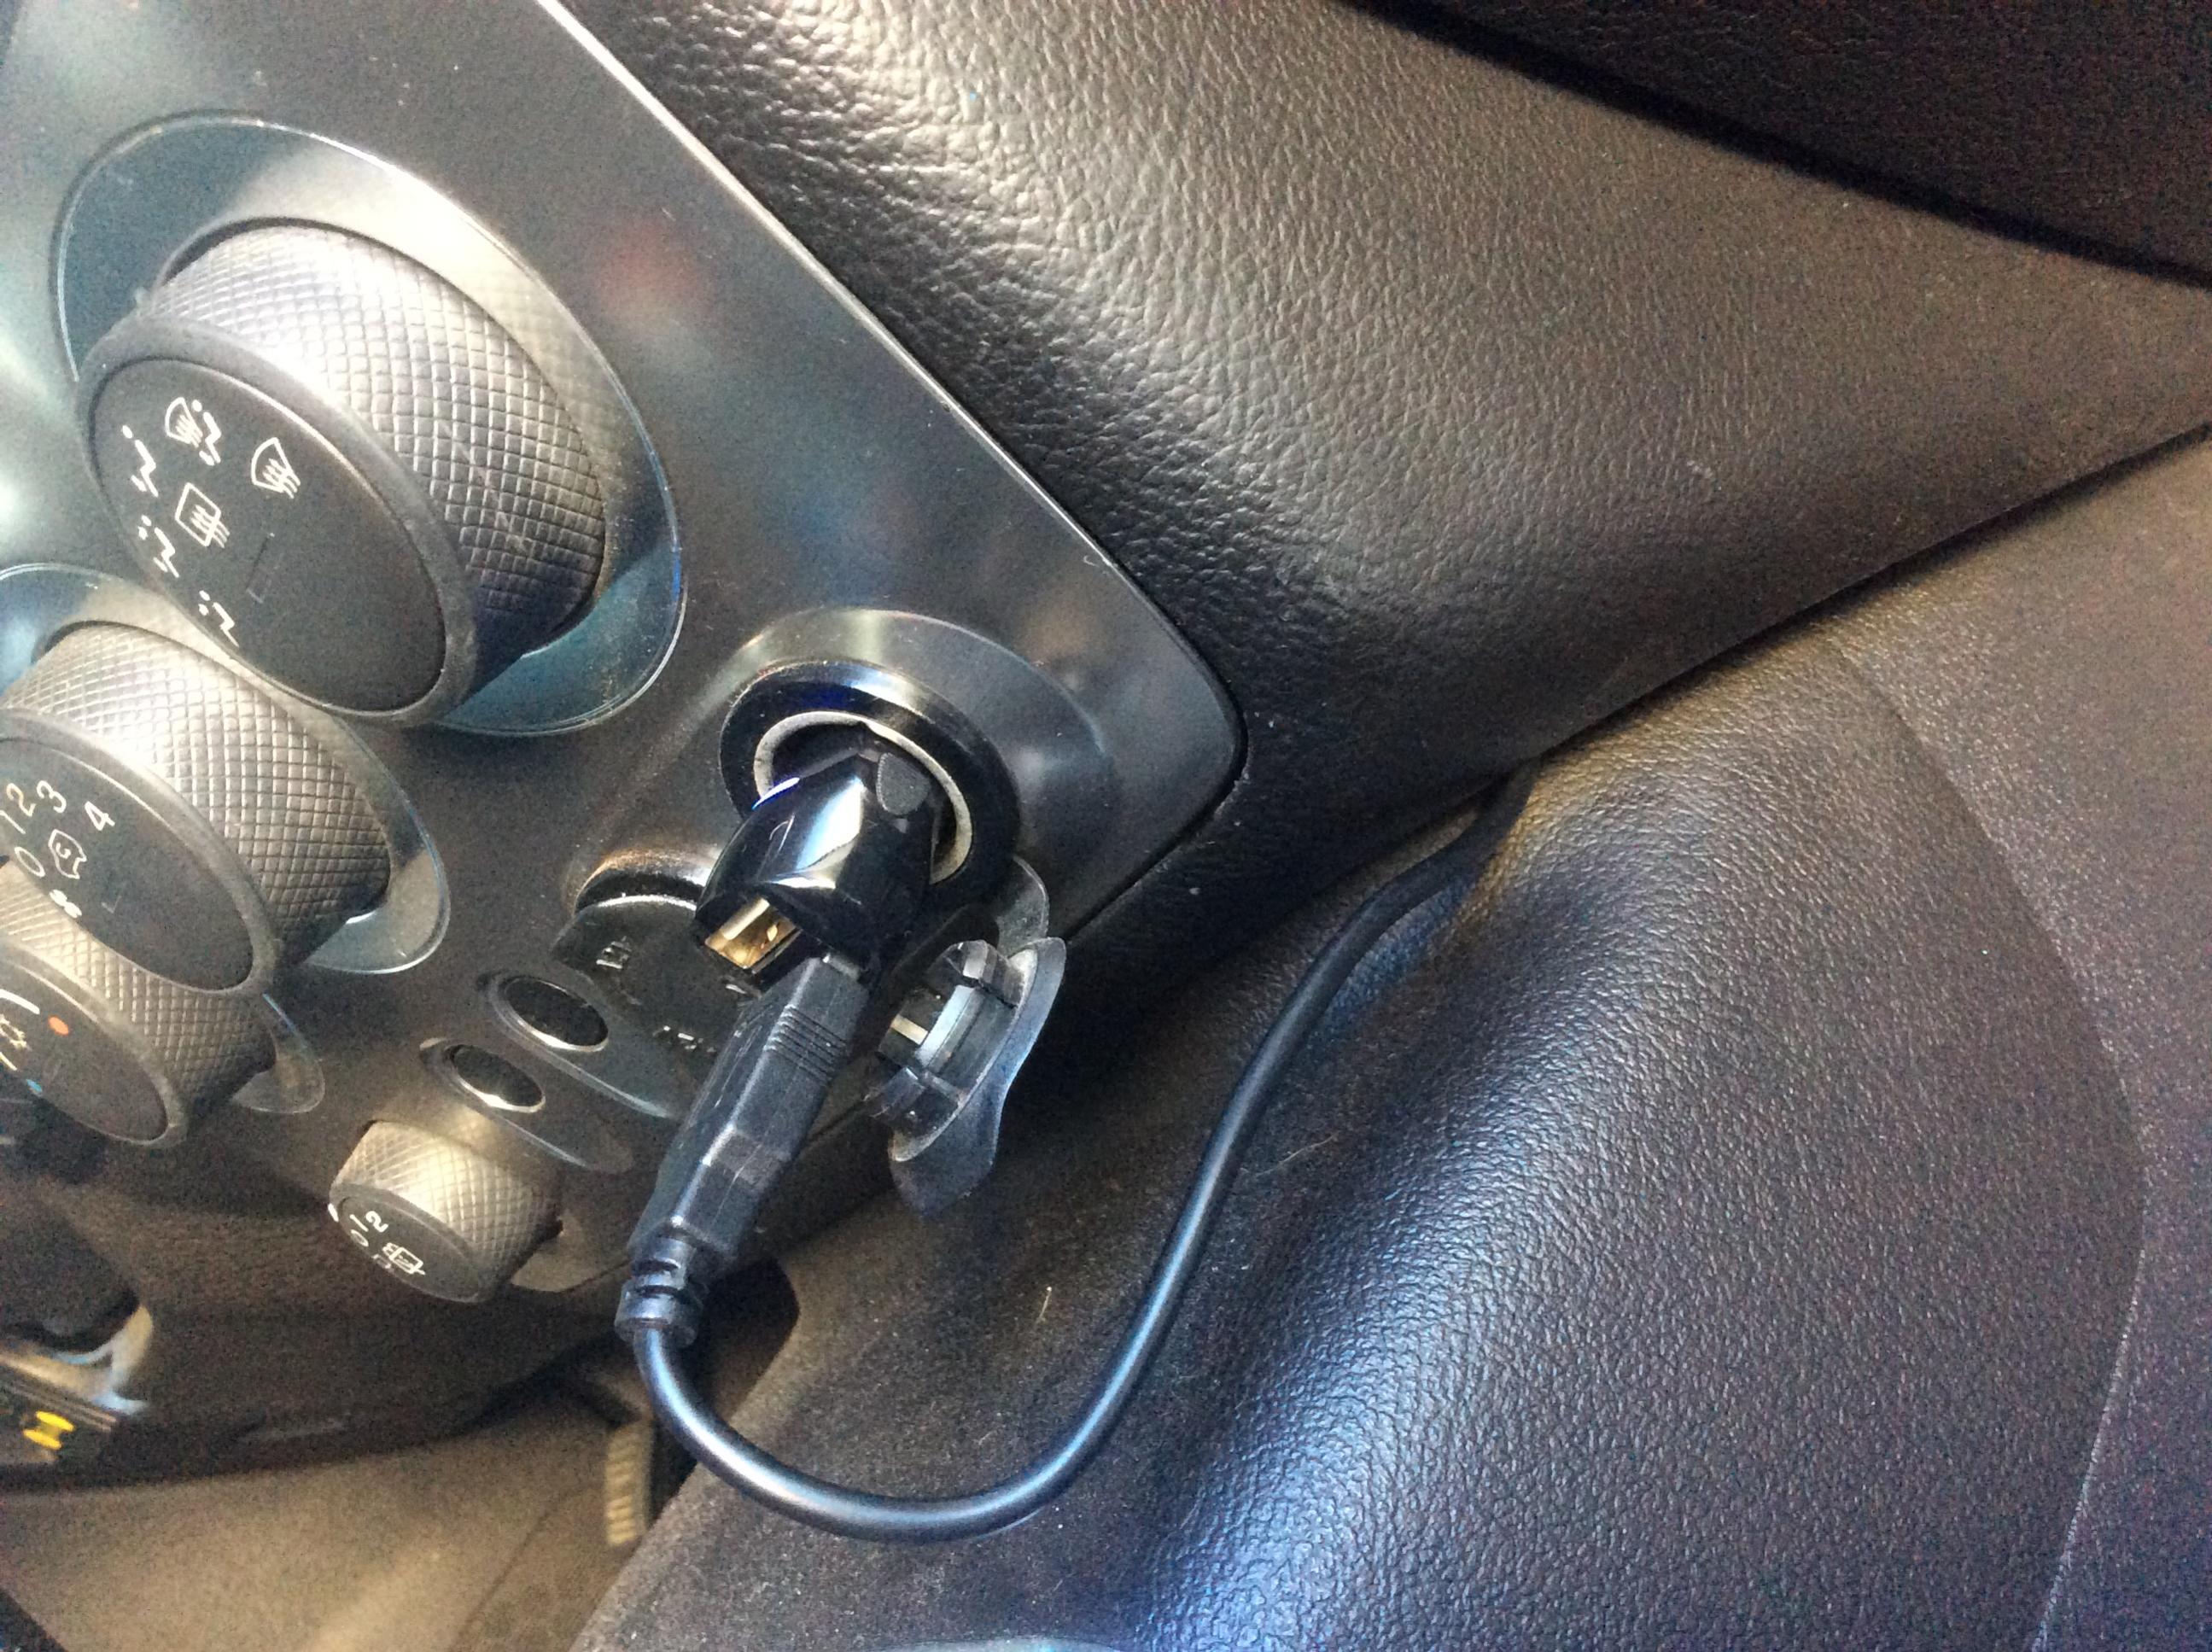
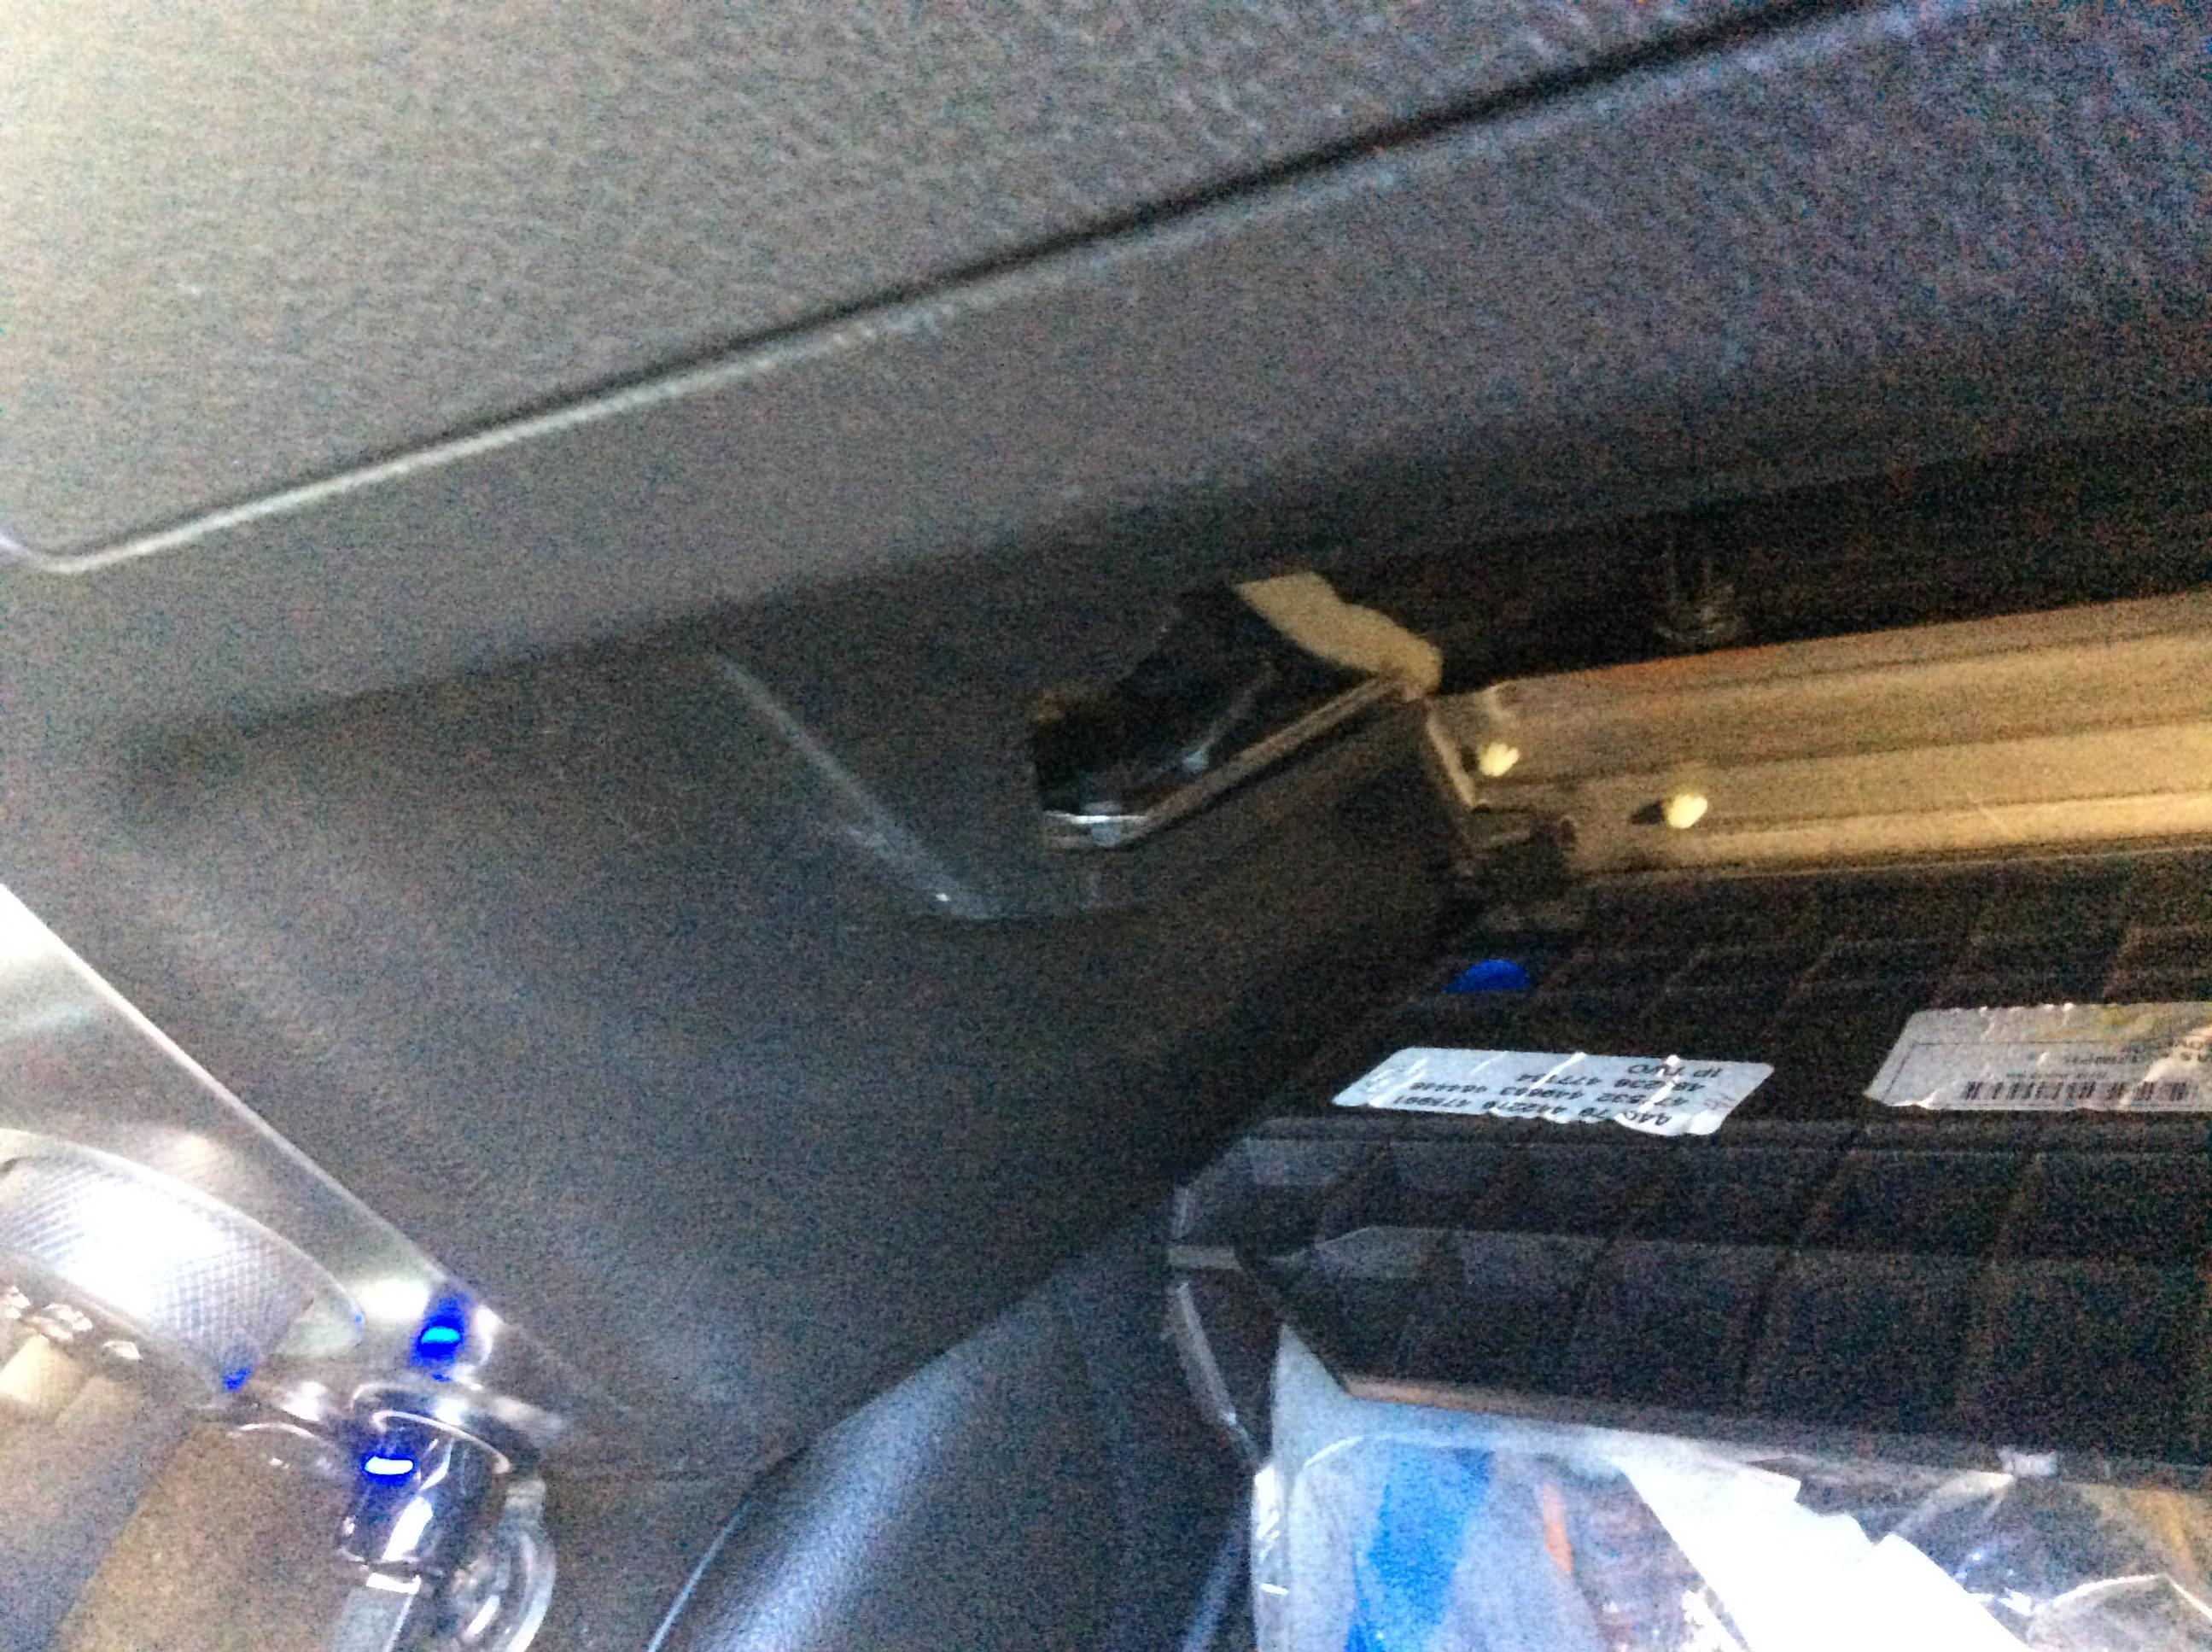
The install took me around 20 min and the cord supplied was plenty long. I ran the power cord along the review mirror power cord and up through the roof interior. Down along the passenger side pillar behind the tweeter and into the side of the dashboard. I continued downward through the interior molding that you can pull back or tuck the cord in. Then along the interior carpet toward the center of the dash. You can tuck the cord into the center of the dash along a seam and plug it directly into the double usb power source. When you have it operational drop the glove box and you can pull the excess cord into the dash hidden from being caught by feet etc.