• Welcome to H4O! For a reduced ad experience, please login or register with the forum.

Search and Rescue H3 Alpha build

Corey Barnes

Well-Known Member
Messages
73
Location
Mobile, AL
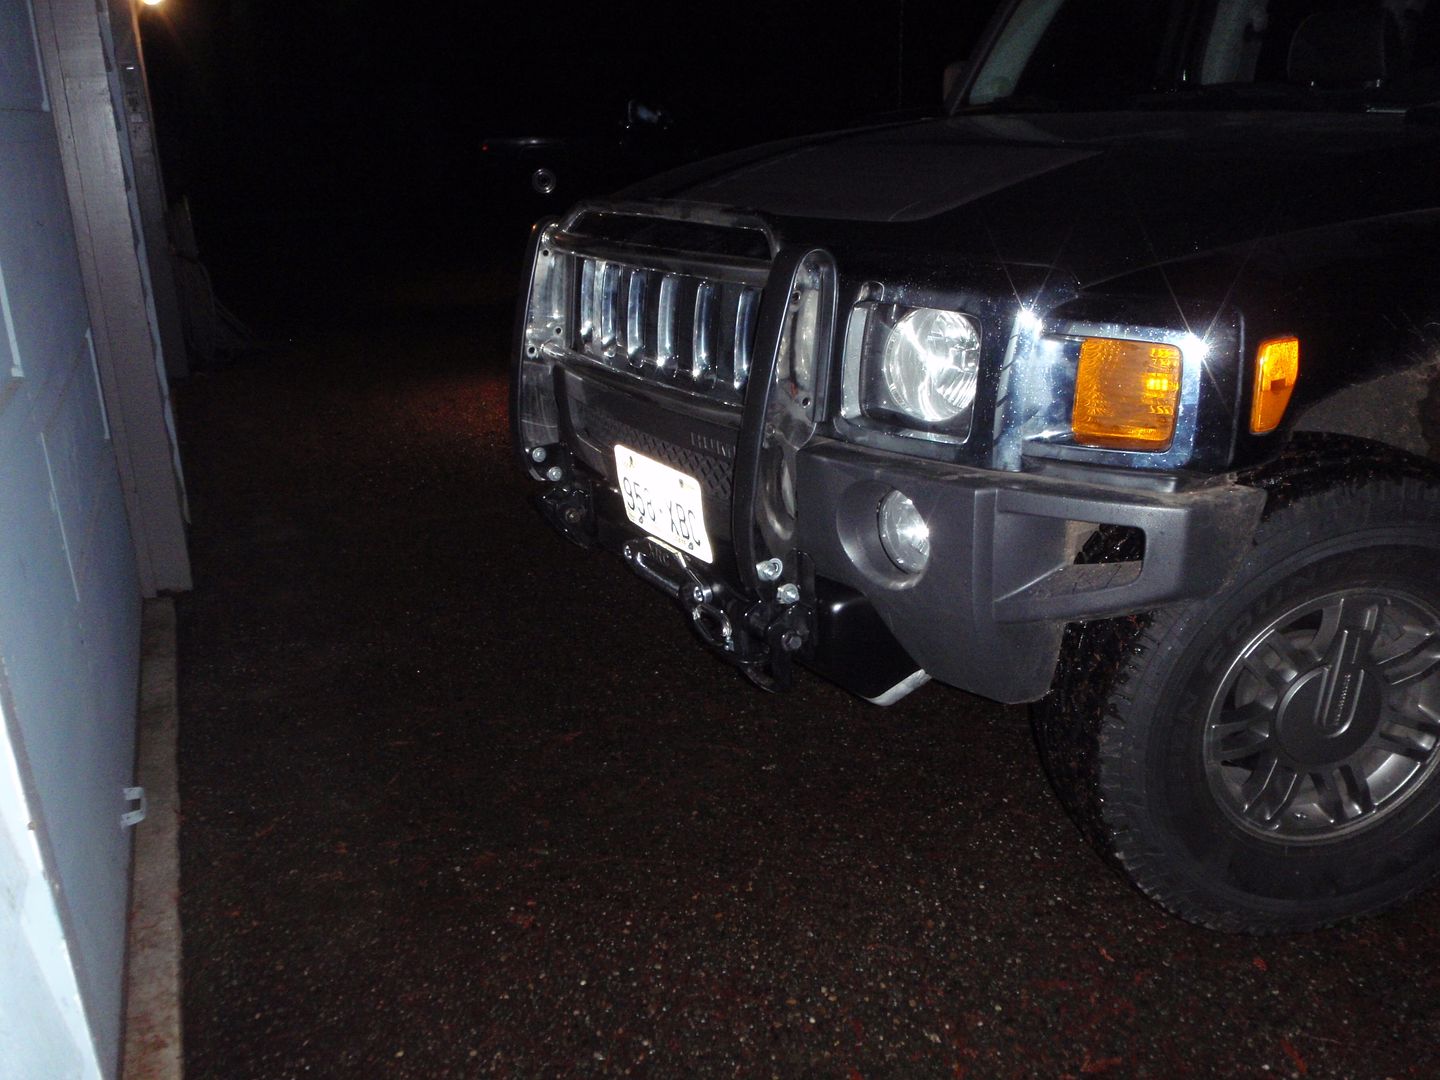
eventually, I'll hinge the license plate... but for now, I just moved it up.... or I'll simply leave it off and argue with the WHP
PC130004_zps266ef6a5.jpg

I want this brush guard!! What did you do by the oem one and take the sides off??


Sent from my iPhone using Tapatalk
 

Corey Barnes

Well-Known Member
Messages
73
Location
Mobile, AL
I like it without the light cover bars! Do you still have a link from when you bought it? Or was it a one and done deal on ebay?


Sent from my iPhone using Tapatalk
 

SuperBuickGuy

Well-Known Member
Messages
3,403
Location
Woodinville, WA
I'm not coming up with it.... the reason I took the side-bars off was it had 1/4" rods across the lights to protect the lights - problem was, you couldn't wash the lights when they were on... eventually, I simply cut the rods off and then welded the bar back on (mostly because it didnt' come with stainless bolts to bolt the side bars on)
 

Corey Barnes

Well-Known Member
Messages
73
Location
Mobile, AL
Okay sweet thanks for the help. I didn't know you cut them off. I thought it came that way.


Sent from my iPhone using Tapatalk
 

SuperBuickGuy

Well-Known Member
Messages
3,403
Location
Woodinville, WA
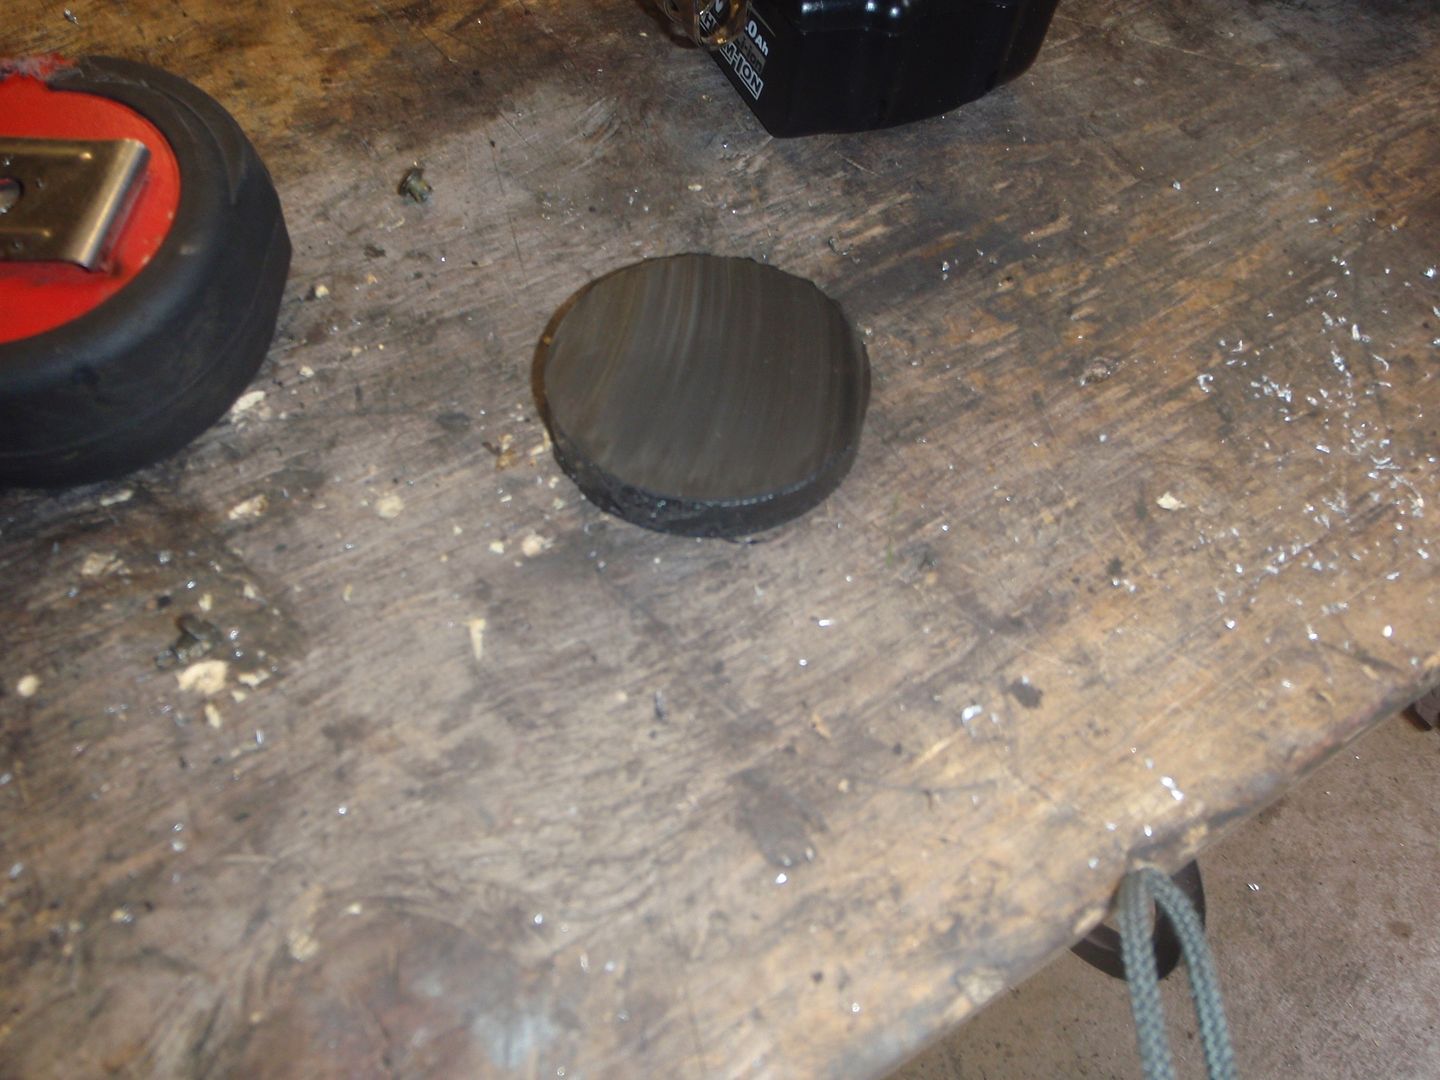
well, this didn't work.... I now have a vibration - ah well, I'm not giving up on the concept, I'll simply find a more compliant material

this is graphite impregnated poly that I had laying around (I do my own suspension links)


SuperBuickGuy

Well-Known Member
Messages
3,403
Location
Woodinville, WA
So I agonized over buying from a sponsor, buying GM stuff, buying from a non sponsor - or just getting off my fat lazy duff and just building rock sliders myself... In any case, I need a jack point on the side of the vehicle - so here's the start

I had some hitch stock and some DOM tubing from a roll bar project - so I bent the bar up and here it is
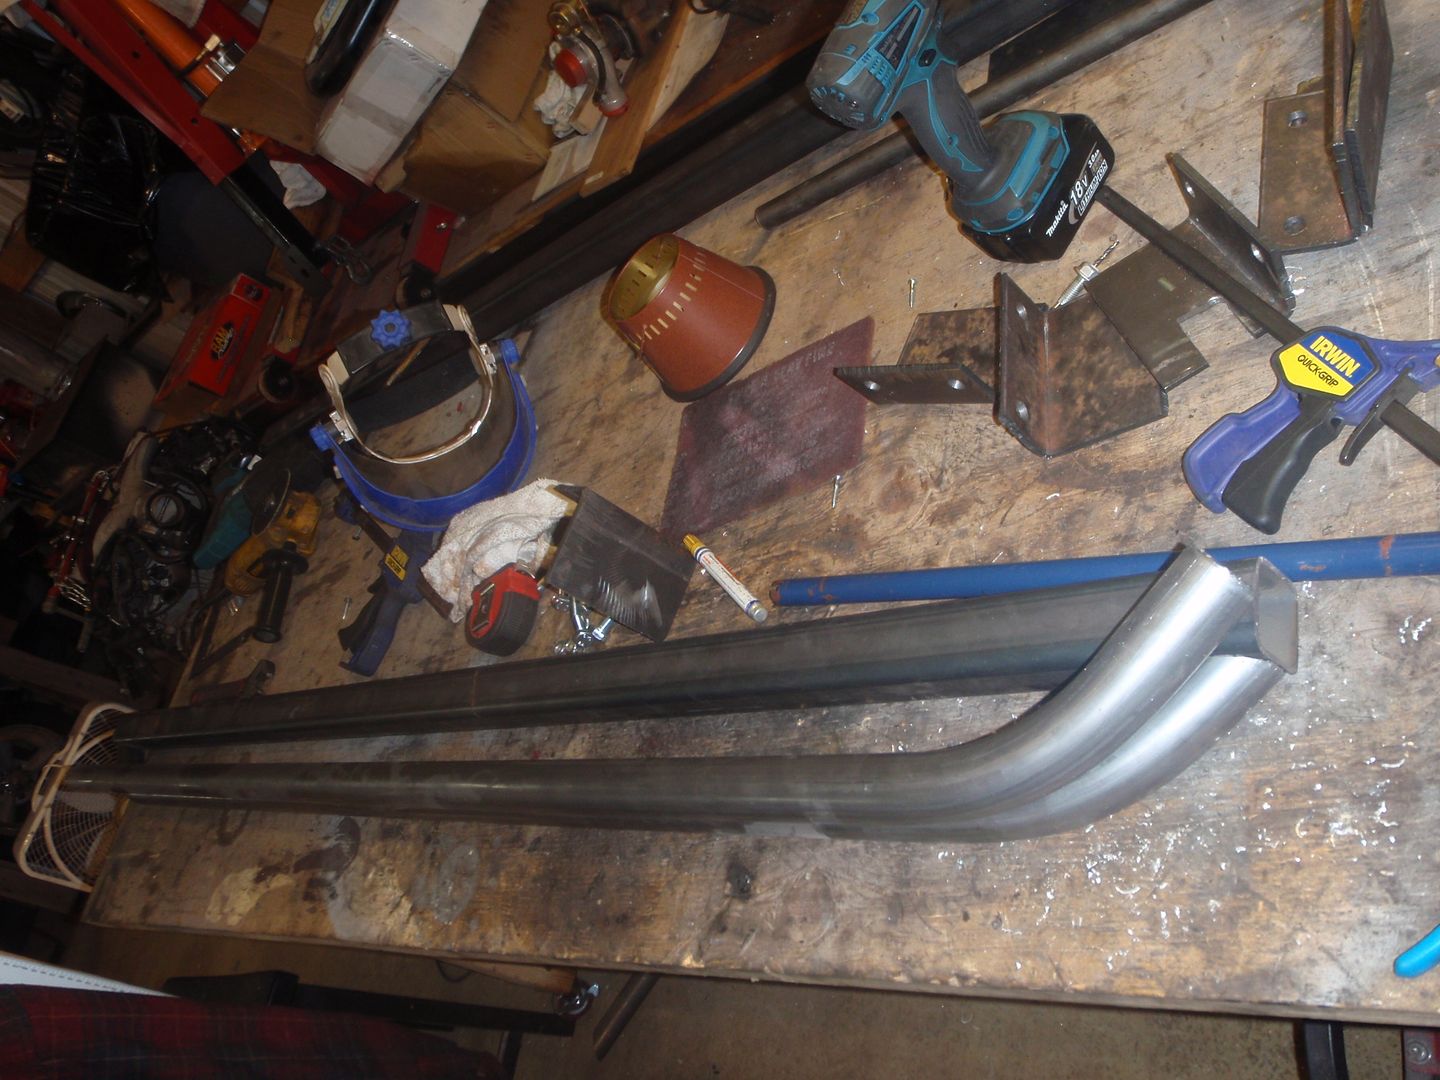

I'm not good enough that a bit of heat and persuasion isn't needed (the bluing) when making similar parts
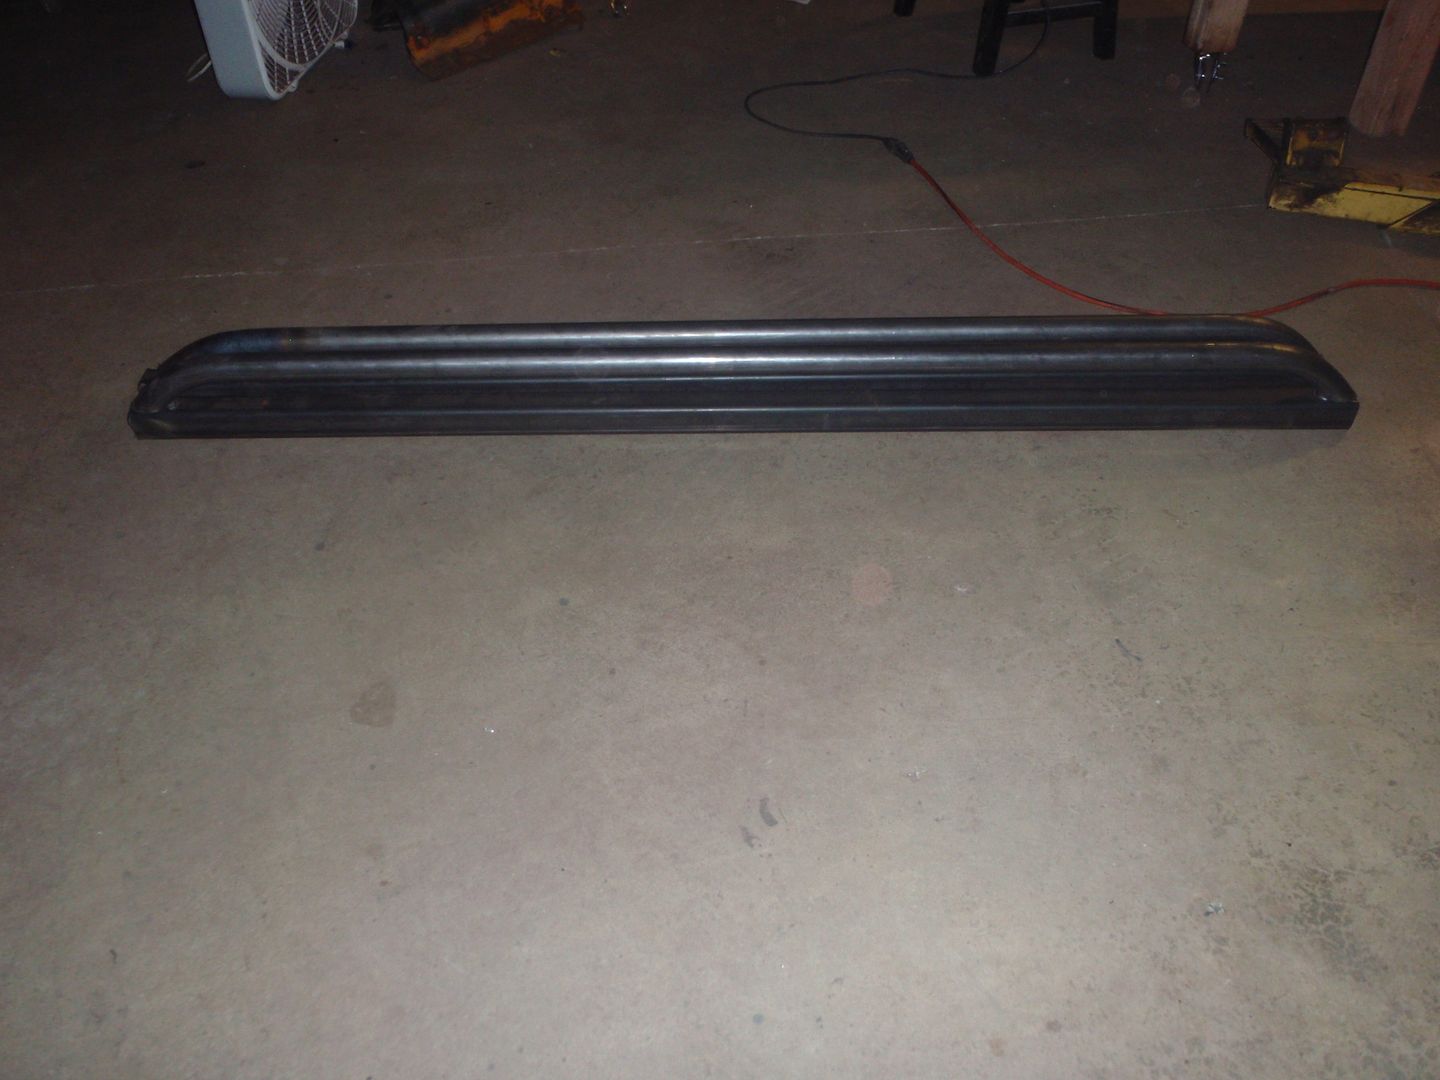

and this is test fitting - I'm going to leave them raw for a couple days to see what annoys me and what doesn't
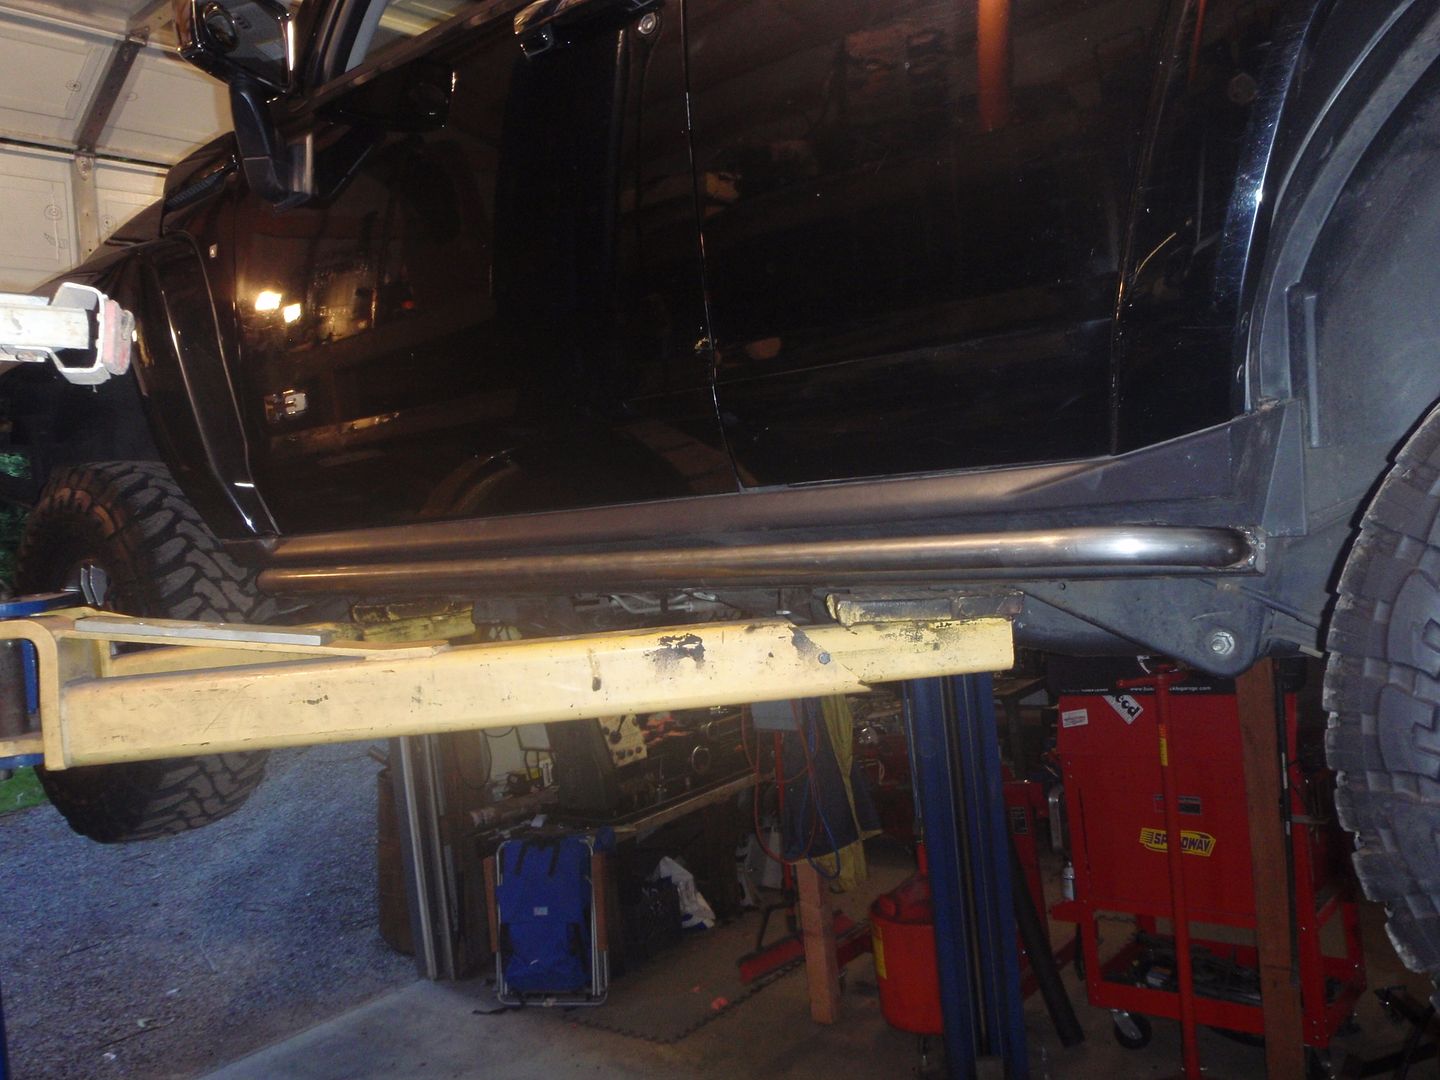
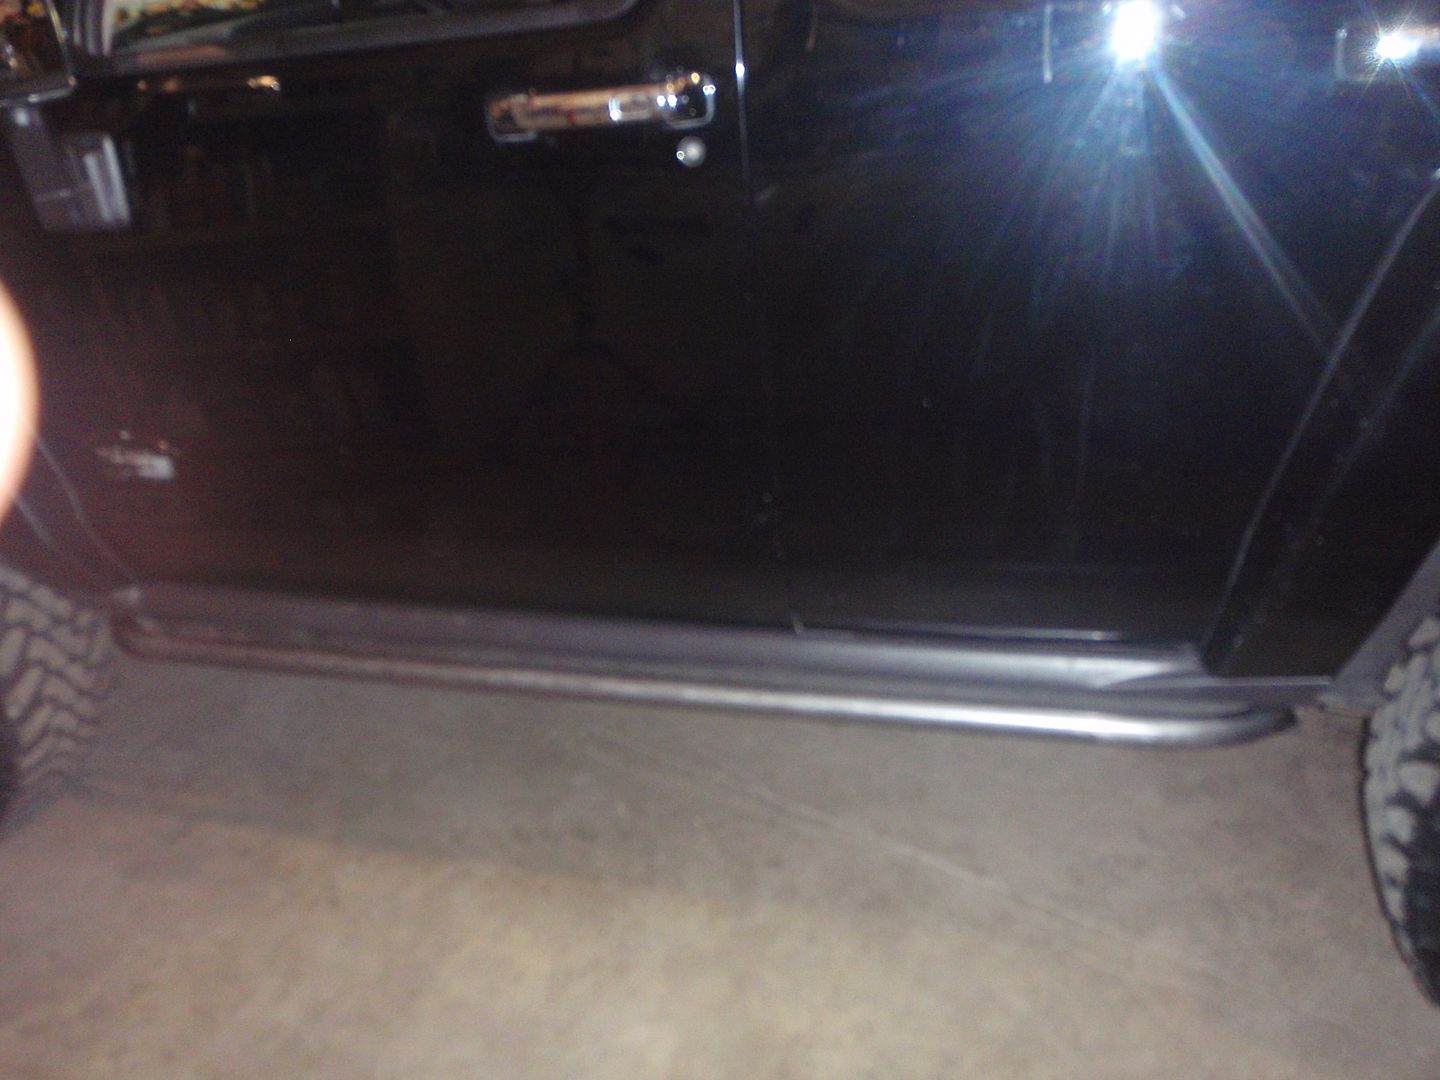

I'll post finished pictures after they're painted (I already noticed one thing I'm going to change - the body tapers away from the frame - the rails are parallel... not when I'm done

I've also been working on a new differential mount. The first round was a hard, poly material that I use for unidirectional suspension points (like A-arms).... too hard, there's a nice vibration with it in place
so now I've gone a lot softer (75%) and have a new spacer in place
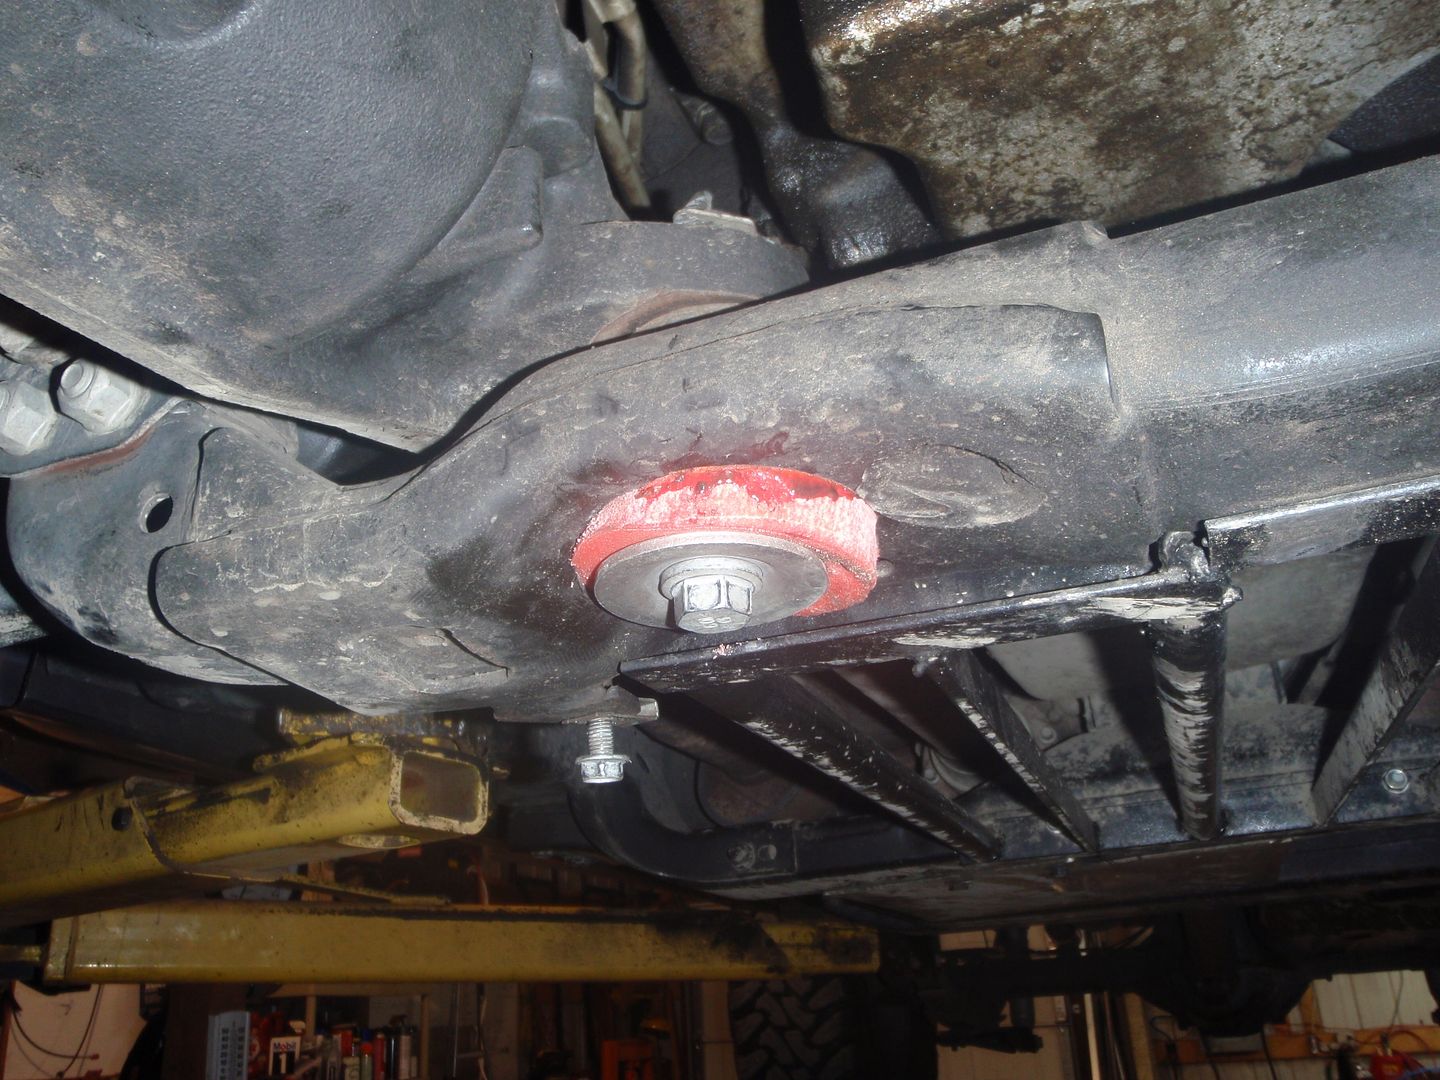

I feel like Goldilocks.... I have one other material that's about 60% stiffer than this stuff...
 

alrock

El Diablo
Staff member
Messages
10,669
Location
Scottsdale
Not talking to yourself - got a good audience here, listening carefully but not wanting to interrupt. Looks like you found a good balance with the diff mount materials.

As for the sliders, are you going to use the extended round tube for a jacking point, or is it the square tube? Looks like you would need to reinforce the round tube if that's the jacking point.

Not sure how you mounted them but ones like Rocky Road can flex up into the body seam. Try and leave your self a bit of room for that flex, or overbuild them so there is no flex.
 

Corey Barnes

Well-Known Member
Messages
73
Location
Mobile, AL
Definitely not talking to yourself. I've been watching every step and loving every bit. Keep it going!!


Sent from my iPhone using Tapatalk
 

LagunaH1

Well-Known Member
Messages
3,730
Location
Idaho
Really interesting build. Following this thread makes me miss my '08 H3 Alpha Adventure and also wish I had a shop where I could work on my truck. Keep up the posts, we *are* following along :cheers:
 

LagunaH1

Well-Known Member
Messages
3,730
Location
Idaho
As for the SAR work you do... I'd love to hear more about that if you are so inclined... Is it an all volunteer organization? Do you work with local fire / sheriff's departments?
 

06 H3

a.k.a. "The Jackal"
Messages
9,501
Location
Meridian, ID
the sliders look good, I would just put some gussets in between the rail and the square tubing, that will help strengthen it and spread the load vs. having all the weight on the ends of tubing.
 

SuperBuickGuy

Well-Known Member
Messages
3,403
Location
Woodinville, WA
yep, gussets are in the plan... I figured I'd do something I rarely do - build it, attach it, then figure out what I need to change. I've already tested jacking it up with a high-lift in the middle, so it's plenty strong - however, I also want some kind of step right there so I can access the roof, yet not bang myself on it getting in and out of the truck... right now (today) I'm deciding whether to follow the body or to make the slider parallel with the frame....
updates tonight
 

SuperBuickGuy

Well-Known Member
Messages
3,403
Location
Woodinville, WA
work progresses


I've been getting the intermittent P 0121 code (TPS)... so in the abundance of caution, I replaced all the parts that make up that system ($200) so that if it does happen again, when I take it to be fixed we can check those boxes... (in addition to that blasted air bag light - which, GM is taking a look at helping me solve.... who knows, I probably have a major red mark next to my name because of the car I traded for this H3 - what a absolute pile of trash that was (06 GTO)).... but at least they're making the right noises - crossing fingers.

that includes MAF sensor, MAP sensor, Throttle body and the throttle pedal


rock rails


there are a couple companies out there that make these, but at 500 plus 100 or so shipping (plus 3 weeks lead time).... and I have a pretty well-equipped shop... it seemed a bit foolish to not just build them myself. That said, I've got at least 10 hours in them (design/build) - so they're not quick or easy
 

SuperBuickGuy

Well-Known Member
Messages
3,403
Location
Woodinville, WA
painted.


I plan on stepping on this rail to get to the roof rack - I also would rather not slip off.... so a bit of aluminum oxide in the bedliner and I have a non-slip surface :)


steps:
spray bedliner
dump sand over the wet bedliner
let sit for a minute or two
dump sand off
spray heavy coat of bedliner over the top


I used this trick for my camper steps a couple years ago - it works really, really well
 

Schwarttzy

Sponsor
Messages
1,390
Location
Rockford IL
LOL, Sorry about that. I use really thick metal which attributes to the cost, and I'm such a small time business I just don't have the money to have these in stock. Anyway, It's much funner to watch you build these things.
 

SuperBuickGuy

Well-Known Member
Messages
3,403
Location
Woodinville, WA
LOL, Sorry about that. I use really thick metal which attributes to the cost, and I'm such a small time business I just don't have the money to have these in stock. Anyway, It's much funner to watch you build these things.

I figured if I showed all the steps, tools required, and time involved - it would actually send you business :)
 

SuperBuickGuy

Well-Known Member
Messages
3,403
Location
Woodinville, WA
I am about to build a set of sliders for my T... any words of advice??

the rockrail I just built was not my first - these are the things I've learned from the other rails I've built and from seeing the damage that happens to others.

1) use the holes GM put into the frame
2) the H3 rockers are pretty strong, so you don't have to overbuild the bracing; however, use strong steel (like hitch tube) so when you land on the rail the load distributes across the entire rail
3) put anti-slip stuff on the top of the tube.
4) be liberal with corner braces to keep the rail from shifting back

better yet - buy them from schwarttzy. Material cost alone is easily 1/2 what he's selling his rails for. Add to that cost, a tube bender, chop saw, MIG welder and the consumables and his rails are a pretty good deal. That said, the DOM tube I used was remnants from a roll cage I built; and the hitch stock was from another project so those bits were already paid for.... but truly, if you don't have the steel or any one of the tools - have it built. With my tube bender, an Eastwood, I had to learn several things: 1) it doesn't bend 90* in one stroke, and you will need to practice to get a smooth 90* bend (at 2.00/ft for material), 2) the jack that comes with the bender is crap, 3) the location of the pivot really stresses the jack, so you have to reweld that pivot to keep from having to buy jacks by the gross...
 

SuperBuickGuy

Well-Known Member
Messages
3,403
Location
Woodinville, WA
mounted, tested, plus one extra things
I figure if I can lift the entire vehicle on the sliders without damage, they should work fine on the trail

check


I really don't like the chrome nose

a bit of plastic coat, and it's fixed


of course, nothing is straightforward

but this thing has paid for itself
 

alrock

El Diablo
Staff member
Messages
10,669
Location
Scottsdale
Airbag light - mine was due to a loose or bad pin in the connector (somewhere). Sorry that's not more specific, but the dealer fixed it and that's the explanation I got.
 

Schwarttzy

Sponsor
Messages
1,390
Location
Rockford IL
I am about to build a set of sliders for my T... any words of advice??

Um, the best I could say is that you need to go slow and then have a look at other companies and how they do it. My design is based off of the http://www.jcroffroad.com/ ones, only I use slightly stronger material because I bent the set on my jeep a little bit.

But I am in the process of finally getting around to being able to sell H3T ones soon, but the extra length does add to the price.
 

SuperBuickGuy

Well-Known Member
Messages
3,403
Location
Woodinville, WA
Airbag light - mine was due to a loose or bad pin in the connector (somewhere). Sorry that's not more specific, but the dealer fixed it and that's the explanation I got.

That's what they thought, so they pulled the airbag out of the dash and did the same thing. Light is still on - if anything, it's gotten worse; before it was intermittent. It's no longer intermittent (which means it should be easier to find the culprit). It's going in today, so hopefully we'll get to the bottom of this.
 

SuperBuickGuy

Well-Known Member
Messages
3,403
Location
Woodinville, WA
new shoes!!!!


I had to buy a different offset for the next (albeit a year out) mod a 4" lift, spring-over swap, and spring-mount reduction surgery
Before


After


some inside shots


oh yeah, and I'm going to build a different roof rack and a box with drawers to both level the rear area and to allow more storage
 
Last edited:
Top