rascole
Well-Known Member
- Messages
- 2,852
- Location
- Bellflower, CA
On my '89 1 ton, I switched the spring packs L-R and that fixed the sagging side. 30+ gallons of fuel on one side didn't help.


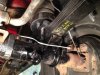
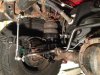
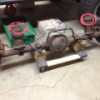
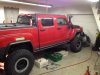
Is it just me or does it look like the front axle needs to be moved forward quite a bit?

Its just you. Actually...I see what you mean, and I think its the angle of the camera. My shop is so small I cannot get further away to take a pic. Rest assured...this is stock wheel-base.


If I keep my H3 forever like I envision, I think the solid axle is in my future. I'd do it now if I could justify the $$. [emoji2]
Mike

Justification is easy...no more having to get the strap...or winching necessary. Lol.
Maybe CJ has a credit program for solid axels lol. Won't hurt to ask. You pay first and the. You get the goods lol
Torres
Cj, driver drop late model AAM 9.25 (basically the new dana 60) from a Dodge Ram. These work with the abs on late model Chevys. Guess what trucks use the same abs and diffs as h2s? Late model Chevys!!!
Google search it Chevy SAS guys run these all day and the abs wires run right into the dodge axle and your done.


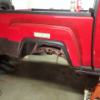
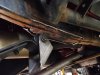
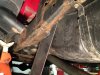
Take it from me, I used to live a little south of geno in NY. They salt the roads up there extra thick and more often than here. Doesn't matter if the temperature is below where the salt makes any impact....they pour it on. Snow plow truck is driving....it's salting. IMO aside from some sort of rust proofing, washing the car, especially the underneath, as soon as a dry road day pops up.Looking good! The one question that I have had on this whole build has nothing to do with the drivetrain--but why is this truck so rusty underneath? Mine's not even close and I thought we had bad winters here.
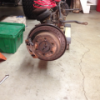
I also didn't know the rotors were specific to each side. How are they different?