• Welcome to H4O! For a reduced ad experience, please login or register with the forum.

FJ4overland

SuperBuickGuy

Well-Known Member
Messages
3,403
Location
Woodinville, WA
so I had to work on my H3 today, but, as is my custom, I always do something to keep moving forward on my main project
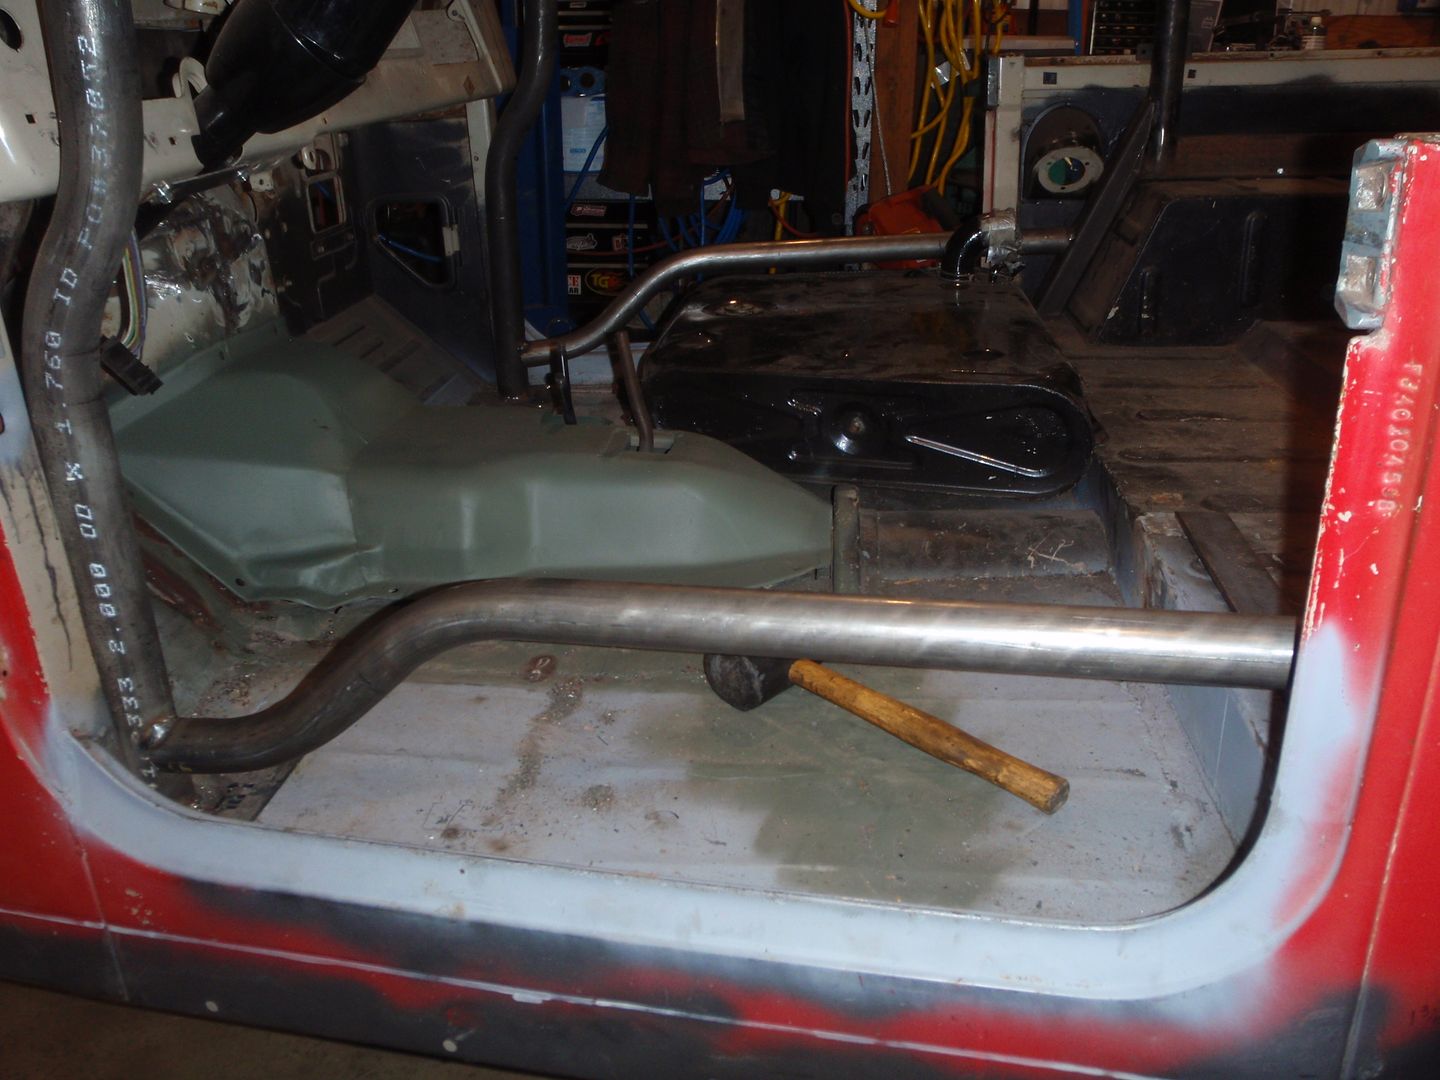
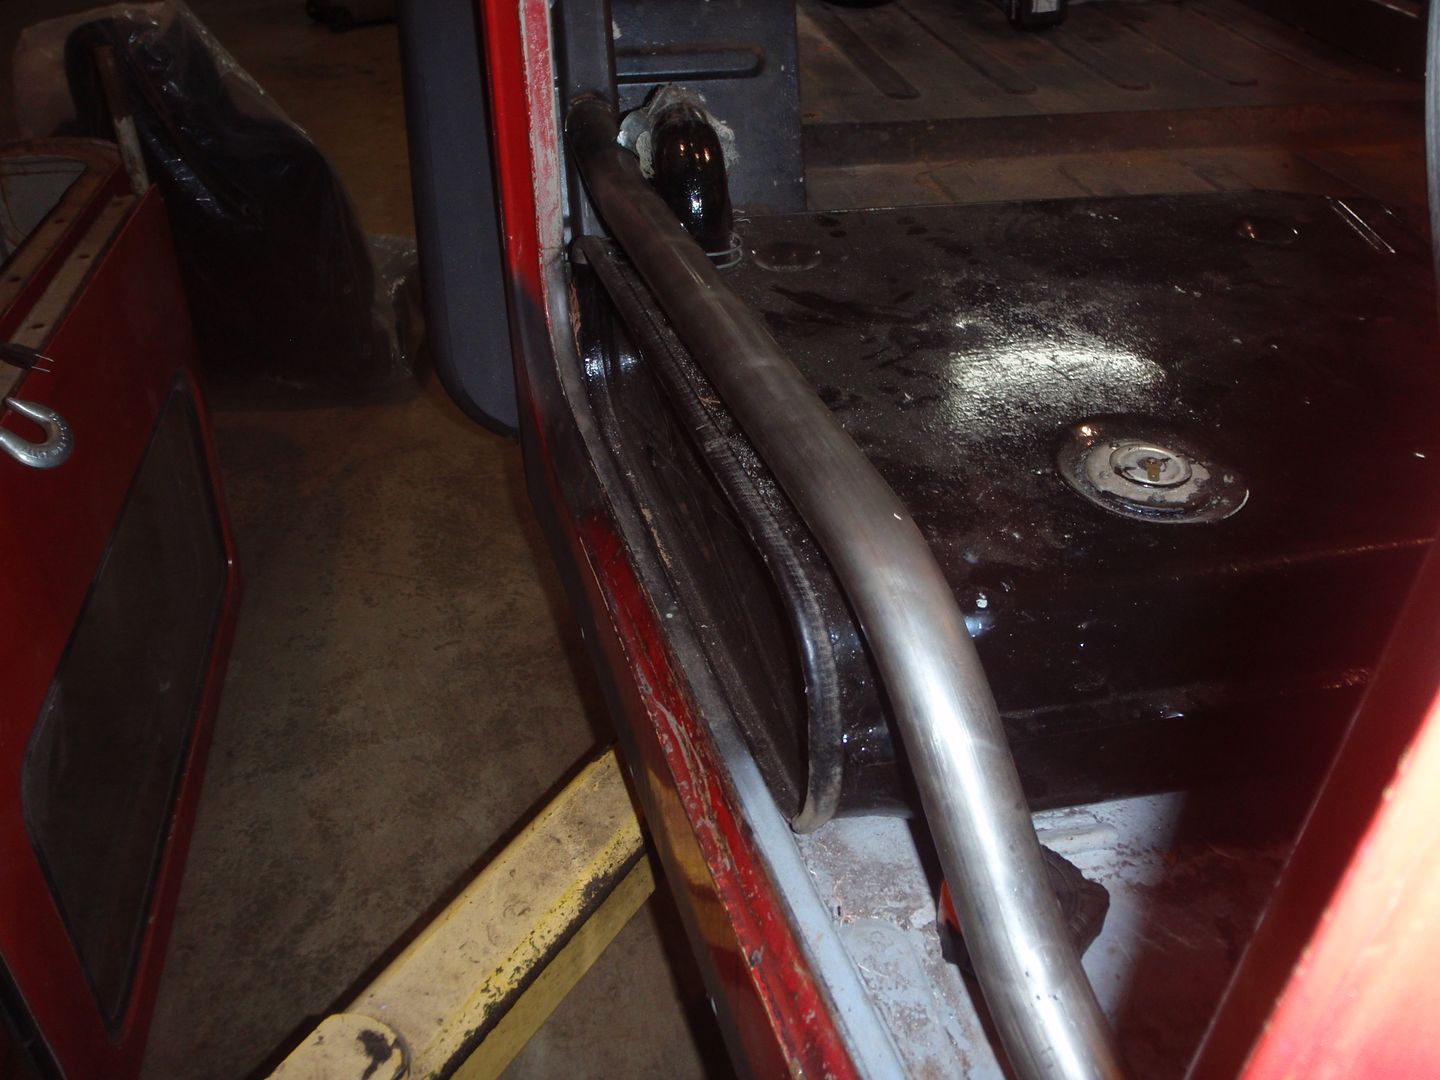
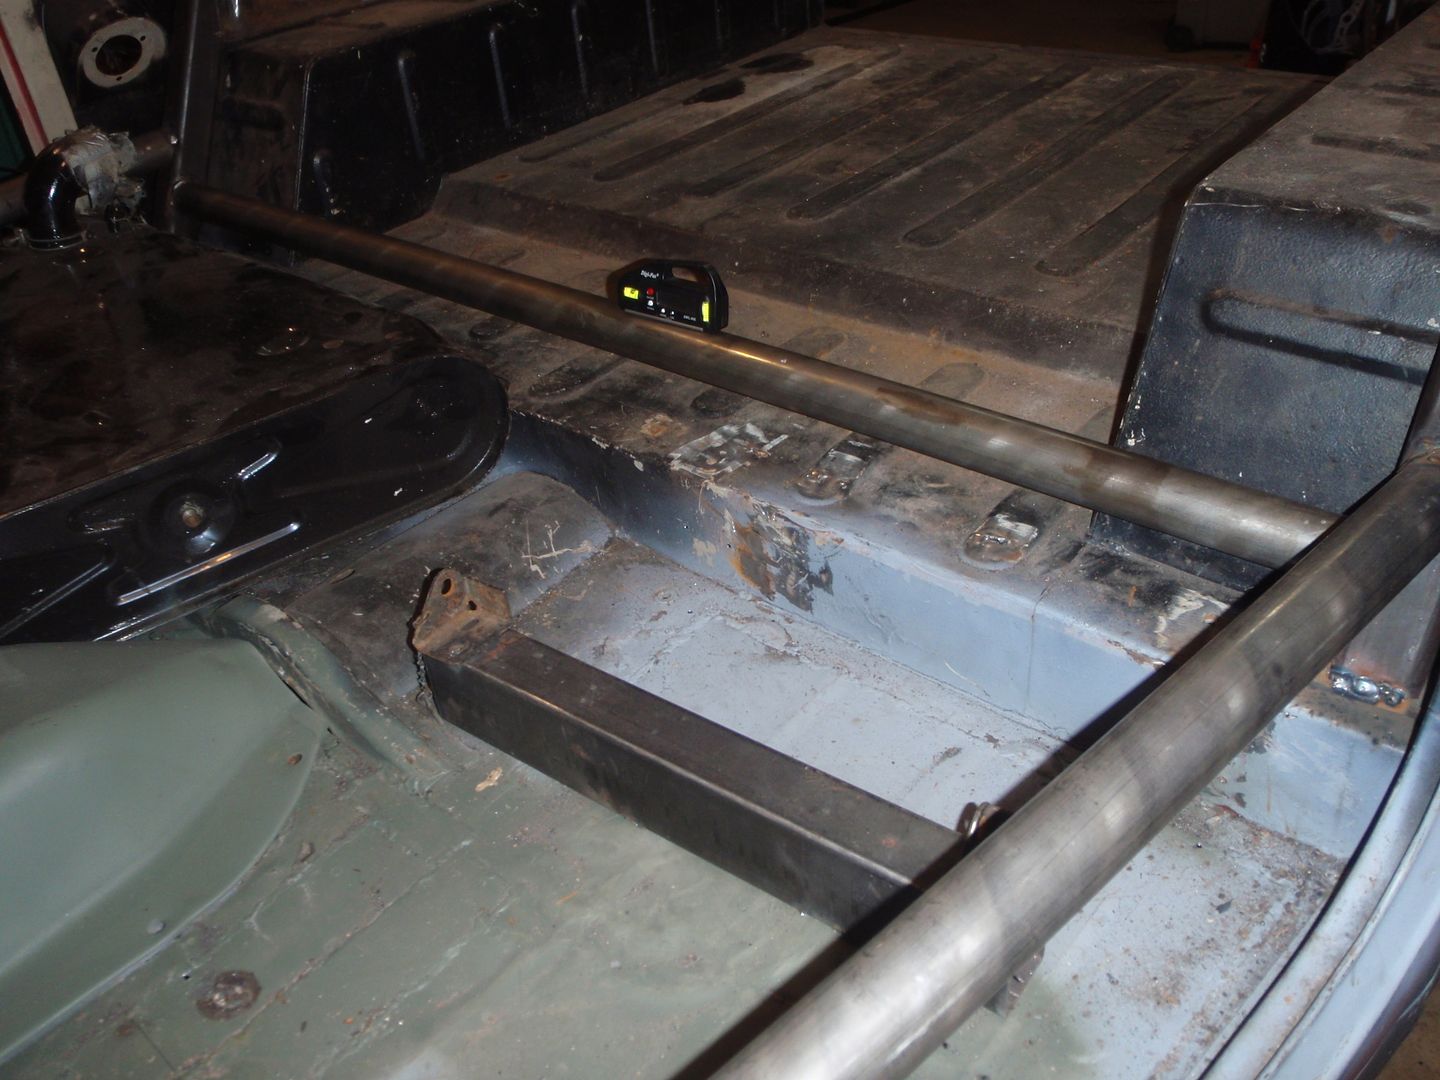
the passenger seat, with the gas tank under it, determines the seat height of the driver's side so that was my focus tonight


narrowed the old, stock bracket


now to make mounts to solid mount it
 

SuperBuickGuy

Well-Known Member
Messages
3,403
Location
Woodinville, WA
been a couple days, next one won't be until next week.... anyway
it was the classic, start, stop
I started looking to weld the mounts on the rear axle... missing one piece, so I spent time straightening up... ugh, I need a shop maid. Didn't find the bits, but I did come up with a clever way of doing the rear springs.... no pictures because I didn't work on that tonight

so then I started working on setting up the rear end


got the gear off, then got stopped because the bearings simply didn't look right - so I ordered new ones that will be here tomorrow


the first project 2 nights ago was the seat frames.... passenger side looks good, and I started mocking up the driver's side.... I dunno, I don't like the non-similar radii. That said, I'm not buying a die or bender simply for these bends so I might have to get creative with the pie cuts. The counter-balance is no one but me will see them... and that top, flat bit... is exactly the right length


anyway, I'm going out to the wilderness to break stuff.... ttfn
 

SuperBuickGuy

Well-Known Member
Messages
3,403
Location
Woodinville, WA
so, progress?
now it's as far apart as I'm going to take it (which is good since there isn't anything left to remove)


Buick thinks the old-school sbc is a good choice


on the trailer for a trip to the sand blaster


and back to the driver's seat frame.... I still don't know what I'm going to do
 

SuperBuickGuy

Well-Known Member
Messages
3,403
Location
Woodinville, WA
this is what's kind of there now


means I have to work on the trans cover a bit more....


basically I'm thinking of simply putting a gun safe under the seat, permanently.

sandblasted frame


figured it'd be easier to weld,


and it is


working on removing brackets... oh the joy of grinding dust and a 90* shop
 

4speedfunk

Well-Known Member
Messages
4,250
Location
Tardville
Are you leaving the swiss cheese holes on the inside of the frame rails? (V8 you know).

Looks great. Thats a really nice frame considering the age.
 

SuperBuickGuy

Well-Known Member
Messages
3,403
Location
Woodinville, WA
I'm welding it solid and the cage is tied directly to it - should be enough.... I know, famous last lines :)

With that said, remember that there is a 75# transfer case/ rear link brace bolted to the bottom of the frame as well. Along with that, the bit that goes over the wheel is going to be boxed as well. My biggest concern is trapped moisture. I will coat it, but if it fails (without those windows) it will be way too late to fix it by the time that failure is see.
 

SuperBuickGuy

Well-Known Member
Messages
3,403
Location
Woodinville, WA
Warm day, but got some accomplished until I ran out of wire and oxygen (was using the torch too)...


with some grinding, drilling and torch work the brackets came off

I suppose I would have given up earlier if I hadn't just had to buy a bracket - so I figure that these are totally reuseable and I did save them


and removed the shock mount


some CAD work (cardboard assisted design)


copy


test


weld


turned it over to weld the top


and ran out of wire


SuperBuickGuy

Well-Known Member
Messages
3,403
Location
Woodinville, WA
alrighty, more progress
first fix the seam


then the upper control arm mount


notice that everything is in compression? while I do trust my welds, I also know that it's really easy to make it doubly secure by compressing the forces

gave it a quick bend and welded it up


and my weight-loss-through-sweating is over for the night

thanks for lurking ;)
 

SuperBuickGuy

Well-Known Member
Messages
3,403
Location
Woodinville, WA
so I welded... for 2 hours.... looks EXACTLY the same


even so, it's ready to turn back over and finish the bottom side. For those who have never done this - you can warp a frame with too much heat, thus tack first, weld a bit at a time, but tack both top and bottom.... then I'll flip it back up, put the motor back in place and figure out the rest of the bracing for the front hoops.
 

SuperBuickGuy

Well-Known Member
Messages
3,403
Location
Woodinville, WA
back to welding.... some more.... with the same amount of "looks like I did something"

when I did the mock up - some (this blog is simulcast to other blogs) - they were concerned the motor mounts wouldn't be strong enough... this should give them peace and let them get back to their orca ;) *


and yet others, who normally are focused on rust,* were concerned about the shock towers.... this isn't finished, but it's a downpayment on how strong the entire structure will be


anyway, I've flipped the frame over and will continue on it tomorrow night....

*I appreciate, kidding aside, that people pay attention - while it's not often I miss something, there have been a few times where what I missed was pretty important... so really, thx for lurking.
 

SuperBuickGuy

Well-Known Member
Messages
3,403
Location
Woodinville, WA
bought some extra doors so that I can make one set half-doors


cross member now done


added a winch plate


and did buckets for the rear springs..... now a cross member and it's done... then grinding, then painting... lol done.
 

SuperBuickGuy

Well-Known Member
Messages
3,403
Location
Woodinville, WA
so more work accomplished


the optical illusion on this is pretty cool, that brace is nearly vertical


just enough clearance for steering


and then some quality time welding links


SuperBuickGuy

Well-Known Member
Messages
3,403
Location
Woodinville, WA
plugging away.... but I'm getting pretty close to paint, just rear shock mounts (which will be pretty easy)
I cheated in the lay out


doesn't look level, yet it is


when tacking on, don't weld the removable bit


couple extra braces in front


and a brace for the steering box


and welded links


I also got grinding done on the top of the frame.... this thing is getting a bit heavy to flip over....
 

SuperBuickGuy

Well-Known Member
Messages
3,403
Location
Woodinville, WA
Believe it or not, I'm getting close to starting the final mechanical assembly....
shock mount


drill through

I observed something interesting. I have a 3/8" B&D corded drill and my makita got too warm so I went to use the B&D... not 50% of the power of the cordless Makita... though I may have injured it drilling 4 2" holes

welded in


My corvette dolly works as a FJ40 dolly as well :)


and some green on the inside of the frame rails


I would have gone with black however there's like a month-wait... and I'll spray the frame black which will cover the green nicely. Sunday the plan is to paint most of the frame. I can't do all of it because I'm not done with the rear shocks... so I'll tape that off and paint it later... I can paint it under the vehicle, so it's really not a big deal...

anyway, shipwreck is getting there :)
 

SuperBuickGuy

Well-Known Member
Messages
3,403
Location
Woodinville, WA
well I goofed.... I read the instructions. The KBS coating that I'm using has a main coat and a top coat for stuff exposed to sunlight. Not only that but it uses its own thinner (and I'm brushing this on). So no paint this weekend (even though it'd be perfect weather for doing so since it is supposed to be 90* on Sunday). Oh well, I'll finish up the cage, etch it, and the corners so I can paint all of it at once. Maybe I'll even make the frame perfect rather than close enough...
 

SuperBuickGuy

Well-Known Member
Messages
3,403
Location
Woodinville, WA
Today's fun... etching the frame
but first, how to turn the frame over... I could drive to Portand (7 hours there and back) and borrow my dad's rotisserie or I could make one or I could hum a few bars and do something that should work


and it works


yeah, so I didn't get it perfectly balanced... oh well
so then the phosphate acid bath begins


since I plan on painting the cage at the same time... it's time to remove it


I guess I'll post pictures of the actual removal tomorrow... and of what I'm going to do with the paint on the tub (once I decide what I'm going to do - I need to remove the red because it's not adhering well enough to paint over.... but I'm loathe to strip it)
 

SuperBuickGuy

Well-Known Member
Messages
3,403
Location
Woodinville, WA
tonight... welded a couple tabs on.... ugh

finish welds I couldn't get to when it was in the vehicle


then outside for stripping


and back inside to rust


tomorrow I'll weld some braces on if I get a chance (meeting night)... I was a bit disappointed that it's welded seam tube, but by the same token, for what I do, it doesn't matter.... and with a few corner braces will be just peachy.
 

SuperBuickGuy

Well-Known Member
Messages
3,403
Location
Woodinville, WA
acid bath is one of my favorite bands!

how do you like that green stuff? I bought some but I haven't used it yet.

it works well on new steel, I'm a bit disappointed at how it did on previously-painted now-sanded sheet metal

That said, the true test will be how it does creating a key for the POR 15 to adhere to it. I painted the differential covers tonight .... after a use or two will tell if it did a good job.
 

SuperBuickGuy

Well-Known Member
Messages
3,403
Location
Woodinville, WA
back to the current headache...errr.. project

cleaned the tub


it'll flow out, they said, POR 15 lies... but at least I'll wear it off pretty quickly in the snow.... still, I wish there was an easy way of spraying POR 15


and now I have a front axle with gears in it - time to order the RCV shafts.... but, like all good things, it requires an unrelated step - my printer doesn't work so I can't print out the sheet I need... ugh


and cleaned knuckles


painted them too


and started working on the rear axle then got stopped when I couldn't find my 1 5/16 socket... always something
 
Top